How to get a good Internet connection in Japan
My time in Tokyo has come to an end and since March, I live in the Kansai area. However, that also means it’s time to change the Internet provider. Here’s how I did it.

My time in Tokyo has come to an end with the last day of February and since March, I live in the beautiful Kansai area. However, while my old apartment came with Internet plan bundled in, that’s not something that typically happens, and so you might find yourself in a situation I was in one month ago – that is, you will try to make some sense out of the different connection options available in Japan.
Compared to what you’re used to from the west, east, north, south, or basically any other part of the world, there are few very unique aspects when it comes to getting an Internet connection in Japan – but at this point, the opposite would be more surprising to me.
The first difference that will hit you in the face is that Internet connection is “unbundled” here, meaning you rent the physical line from one company, while your Internet service provider (ISP) is typically entirely different company.
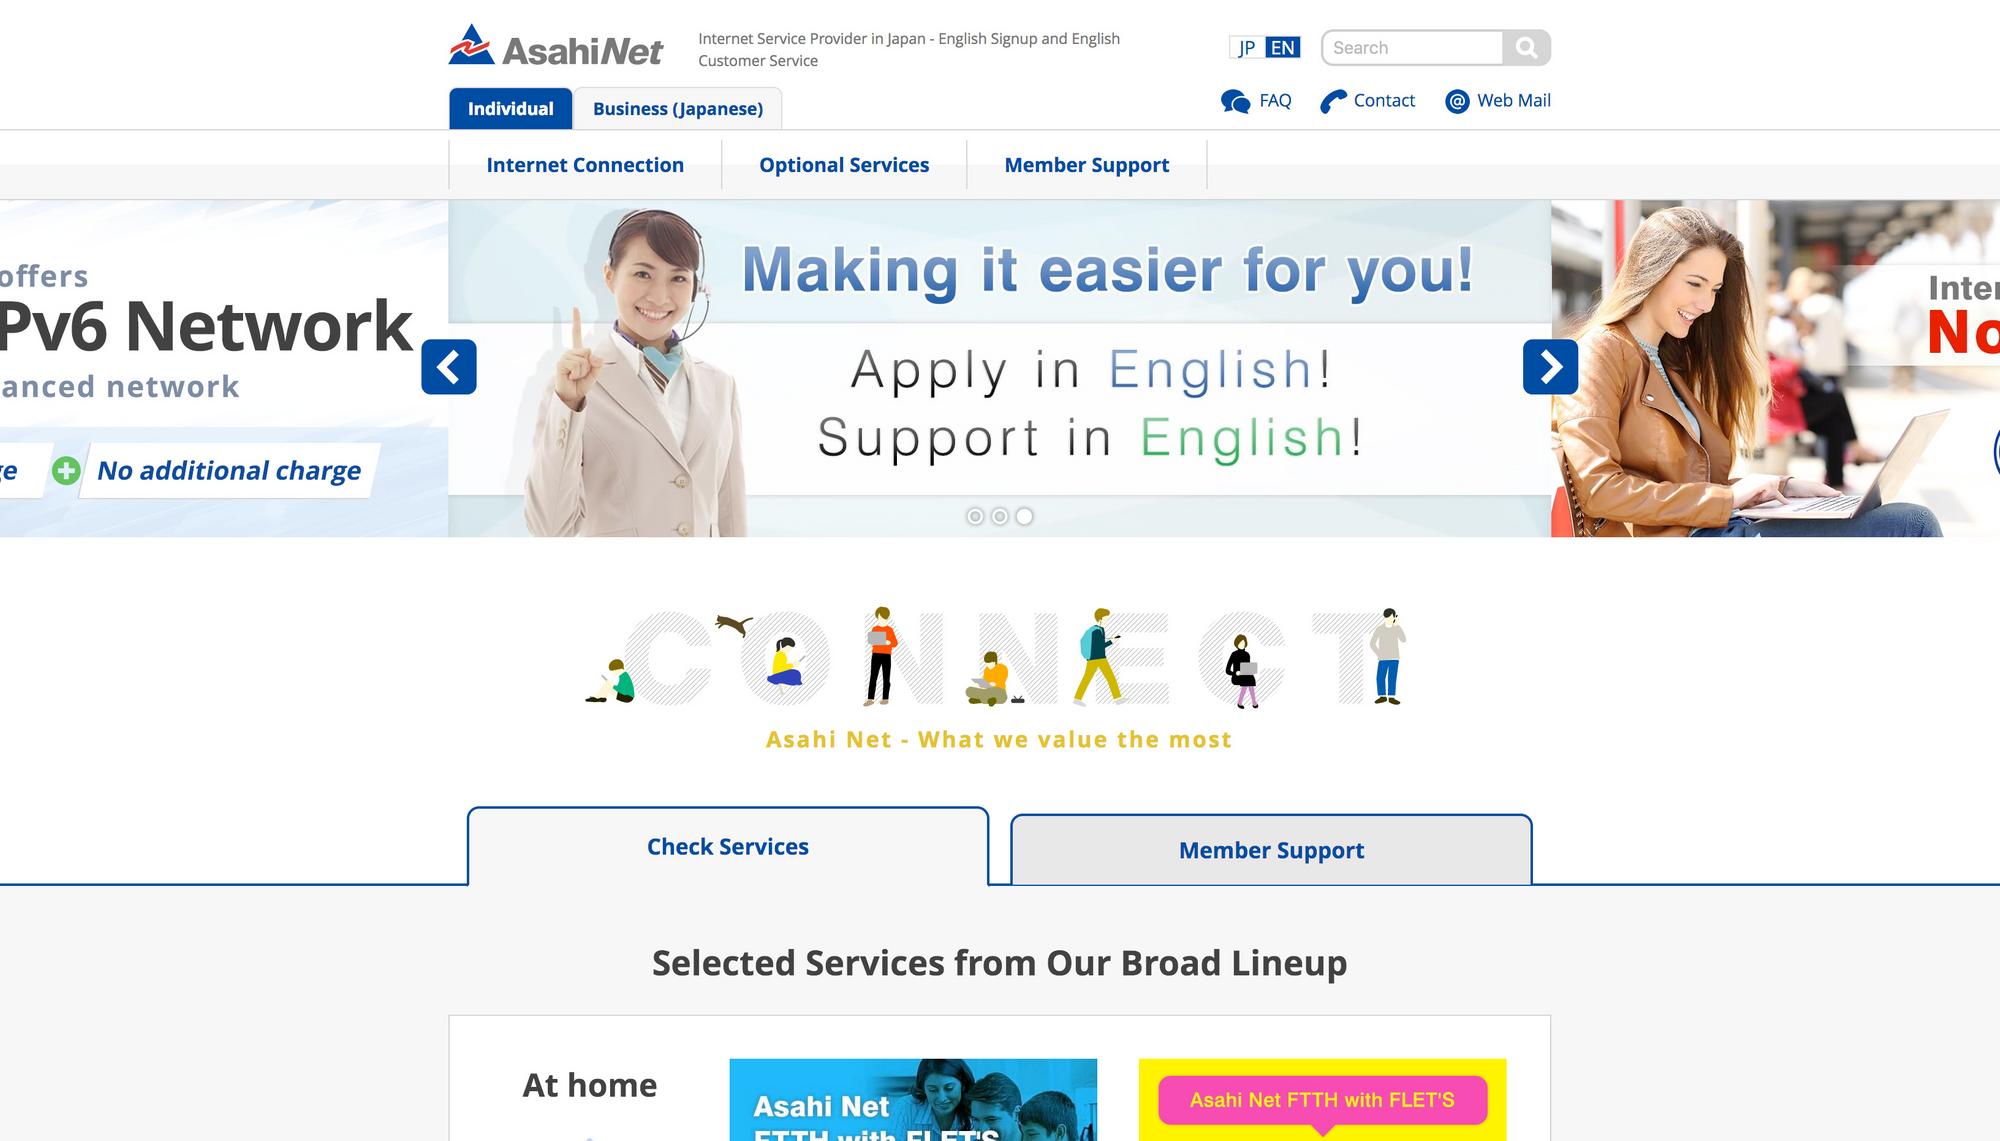
Your choice of ISP (and ISP’s particular service) will decide your line provider, and since I chose Asahi Net as my provider of choice and their Asahi Net FTTH with FLET’s service, the line required for that service is NTT West’s FLET’s Hikari fibre-optic line. Why Asahi Net? Their website looks fairly well, their pricing seems reasonable and they offer good (and very funny!) English-speaking customer support. Furthermore, they’ll submit an application for renting a line to NTT for you, so that’s one less headache you’ll face.
After you submit your application, you can expect four things to happen shortly:
- You’ll get an “installation package” from Asahi Net, let’s look at it in more detail later;
- You’ll receive a phone call from NTT, confirming the line application, line installation and pricing – the phone call will take place in Japanese, but you can let them know that you don’t feel comfortable speaking in Japanese and they should call back with an interpreter on the line, ready to save the day;
- You’ll get a confirmation letter from NTT, with your client ID – you may need this to apply for IPv6 address much later, but I don’t think I needed it;
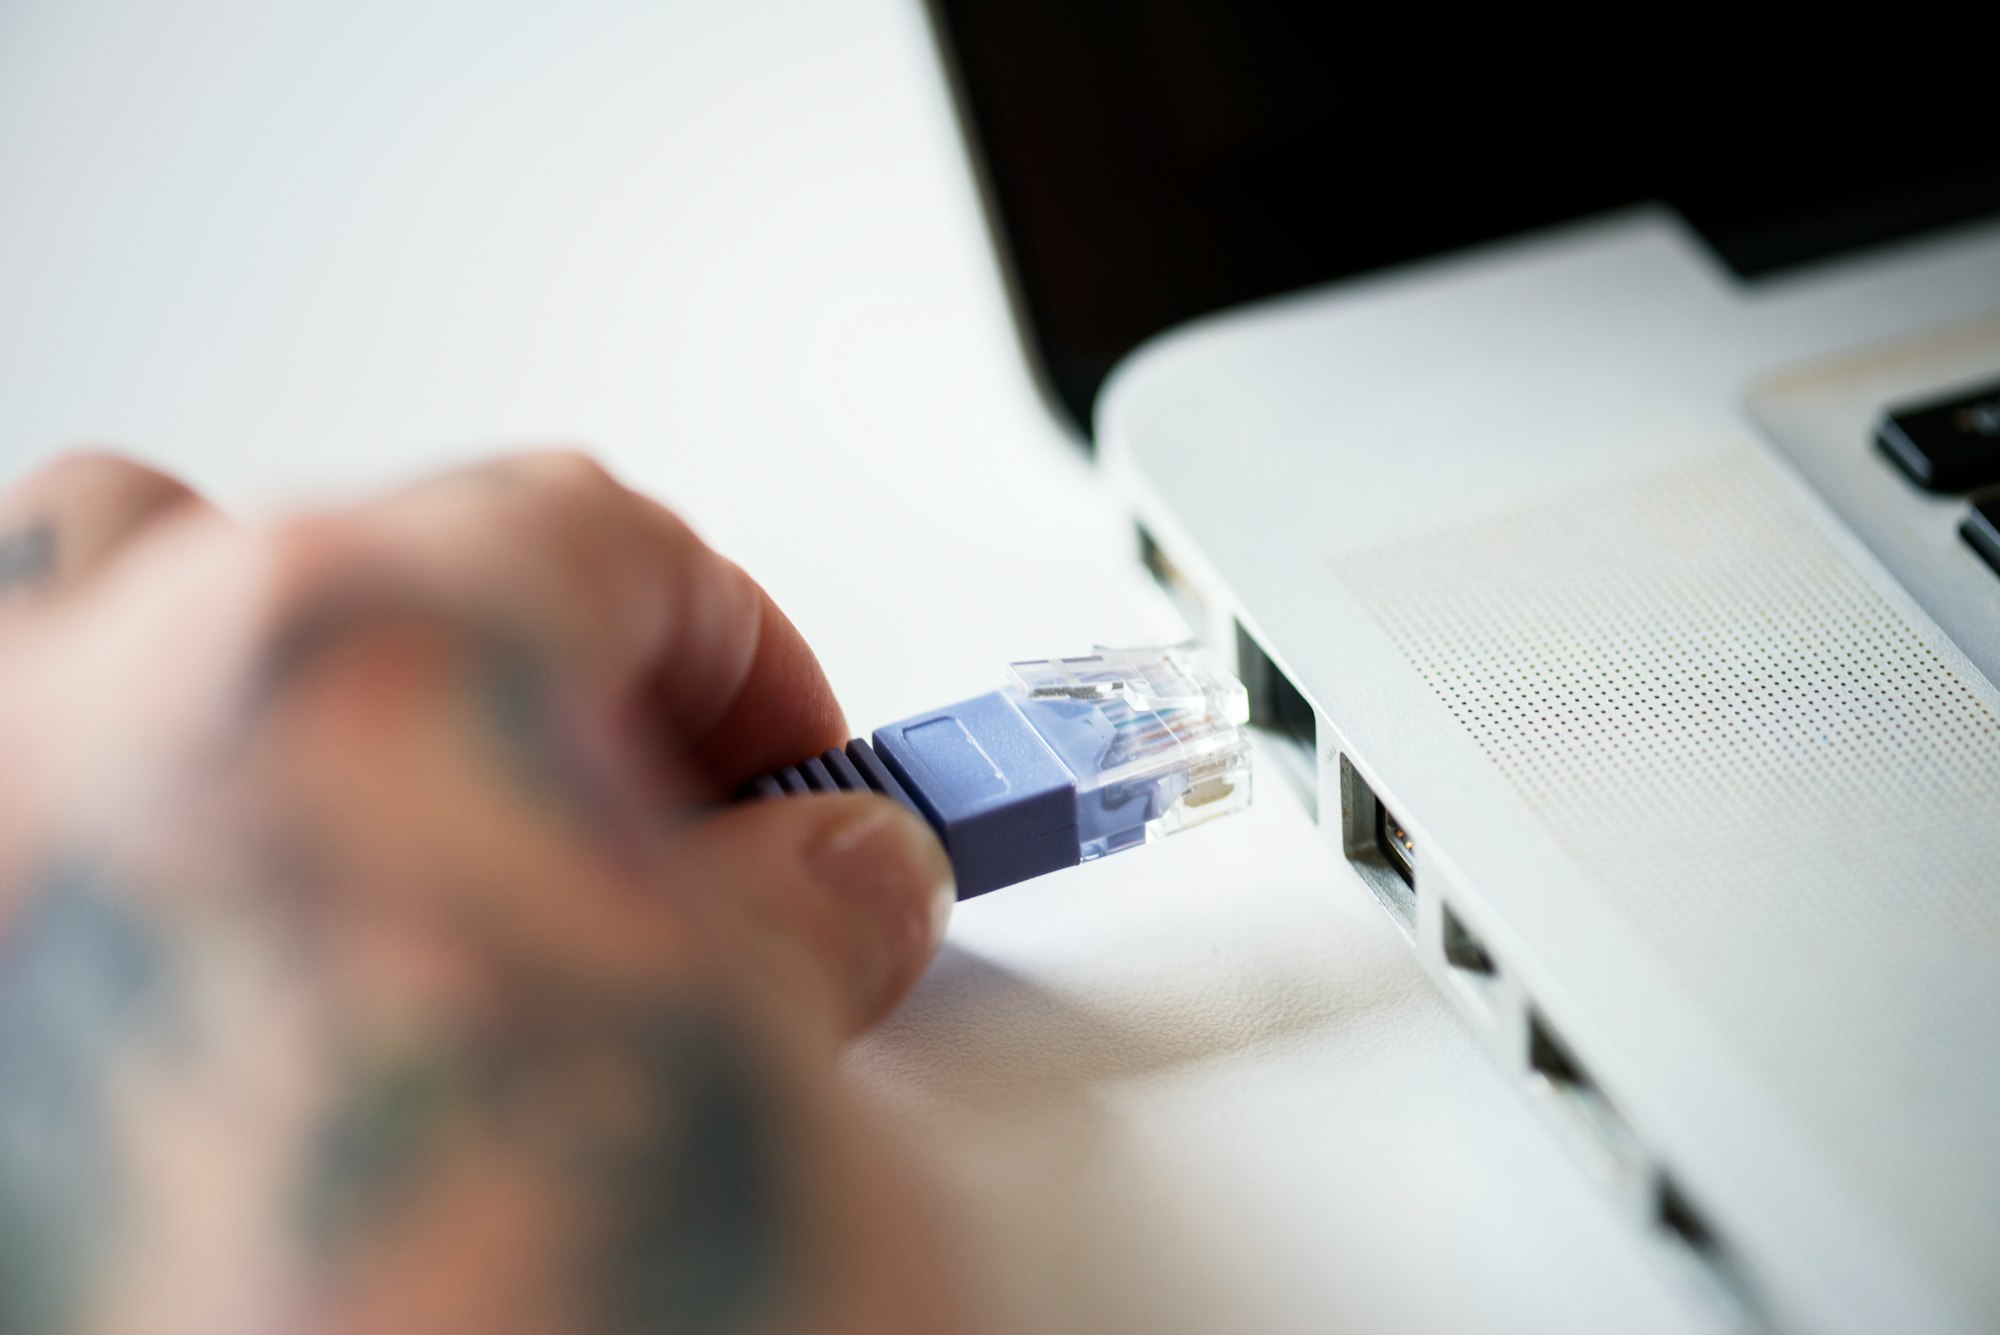
- You’ll get a modem (fibre optic to RJ45, powered by… micro-USB? 🤯) from NTT – I think they can also rent you a combined modem/Wi-Fi router for an additional monthly fee, but I always prefer to own my routers (which, as you’ll see later, will be another major source of headaches).
Pricing
Let’s talk about pricing for a moment. In the west, it’s typical to pay more for higher connection speeds, so you usually pick a connection speed that’s both affordable and usable to you. That doesn’t seem to be the case here at all.
With Asahi Net, I could pick either 1 Gbps connection or 100 Mbps connection for the exact same price of ¥700/month (it would be slightly more if I lived in a house instead of a mansion) – and even if I picked the 100 Mbps connection, the speeds could apparently still go up to 1 Gbps anyway.
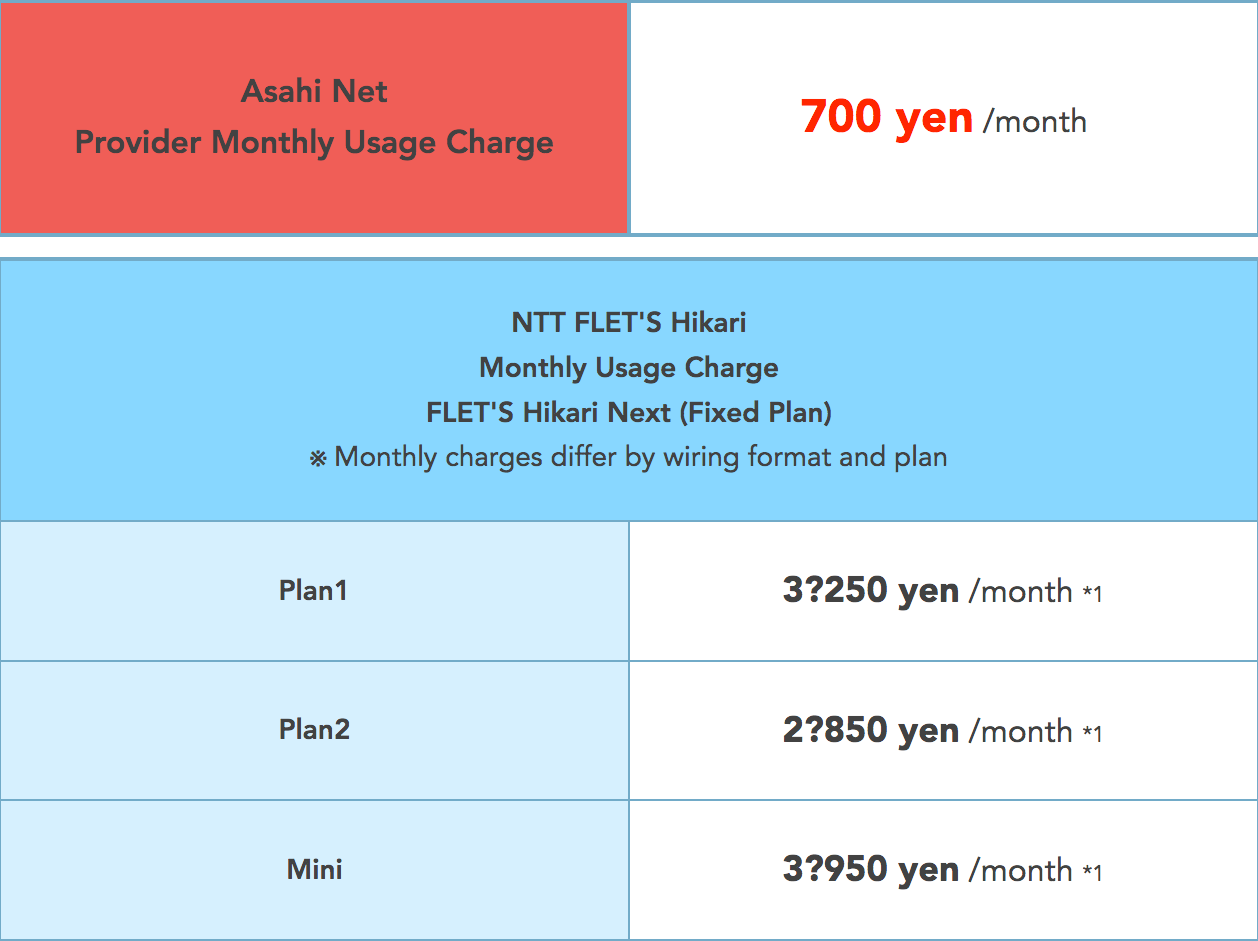
The only freedom of choice you seem to have is to how much you’ll pay for the actual line, but that freedom is a complete illusion. In reality, you can’t choose this at all, and it is pre-determined for you based on how big the apartment building you live in is. If I remember correctly, if your building has less than 6 units, prepare yourself for the Mini plan, if less than 12 apartments, it’ll be the Plan 1; anything larger is covered with Plan 2.
Finally, as of March 2019, Asahi Net waives the ¥700/month fee for the entire first year. I’m not sure how do they actually make money but I sure ain’t complainin’ 🤣
Asahi Net’s installation package
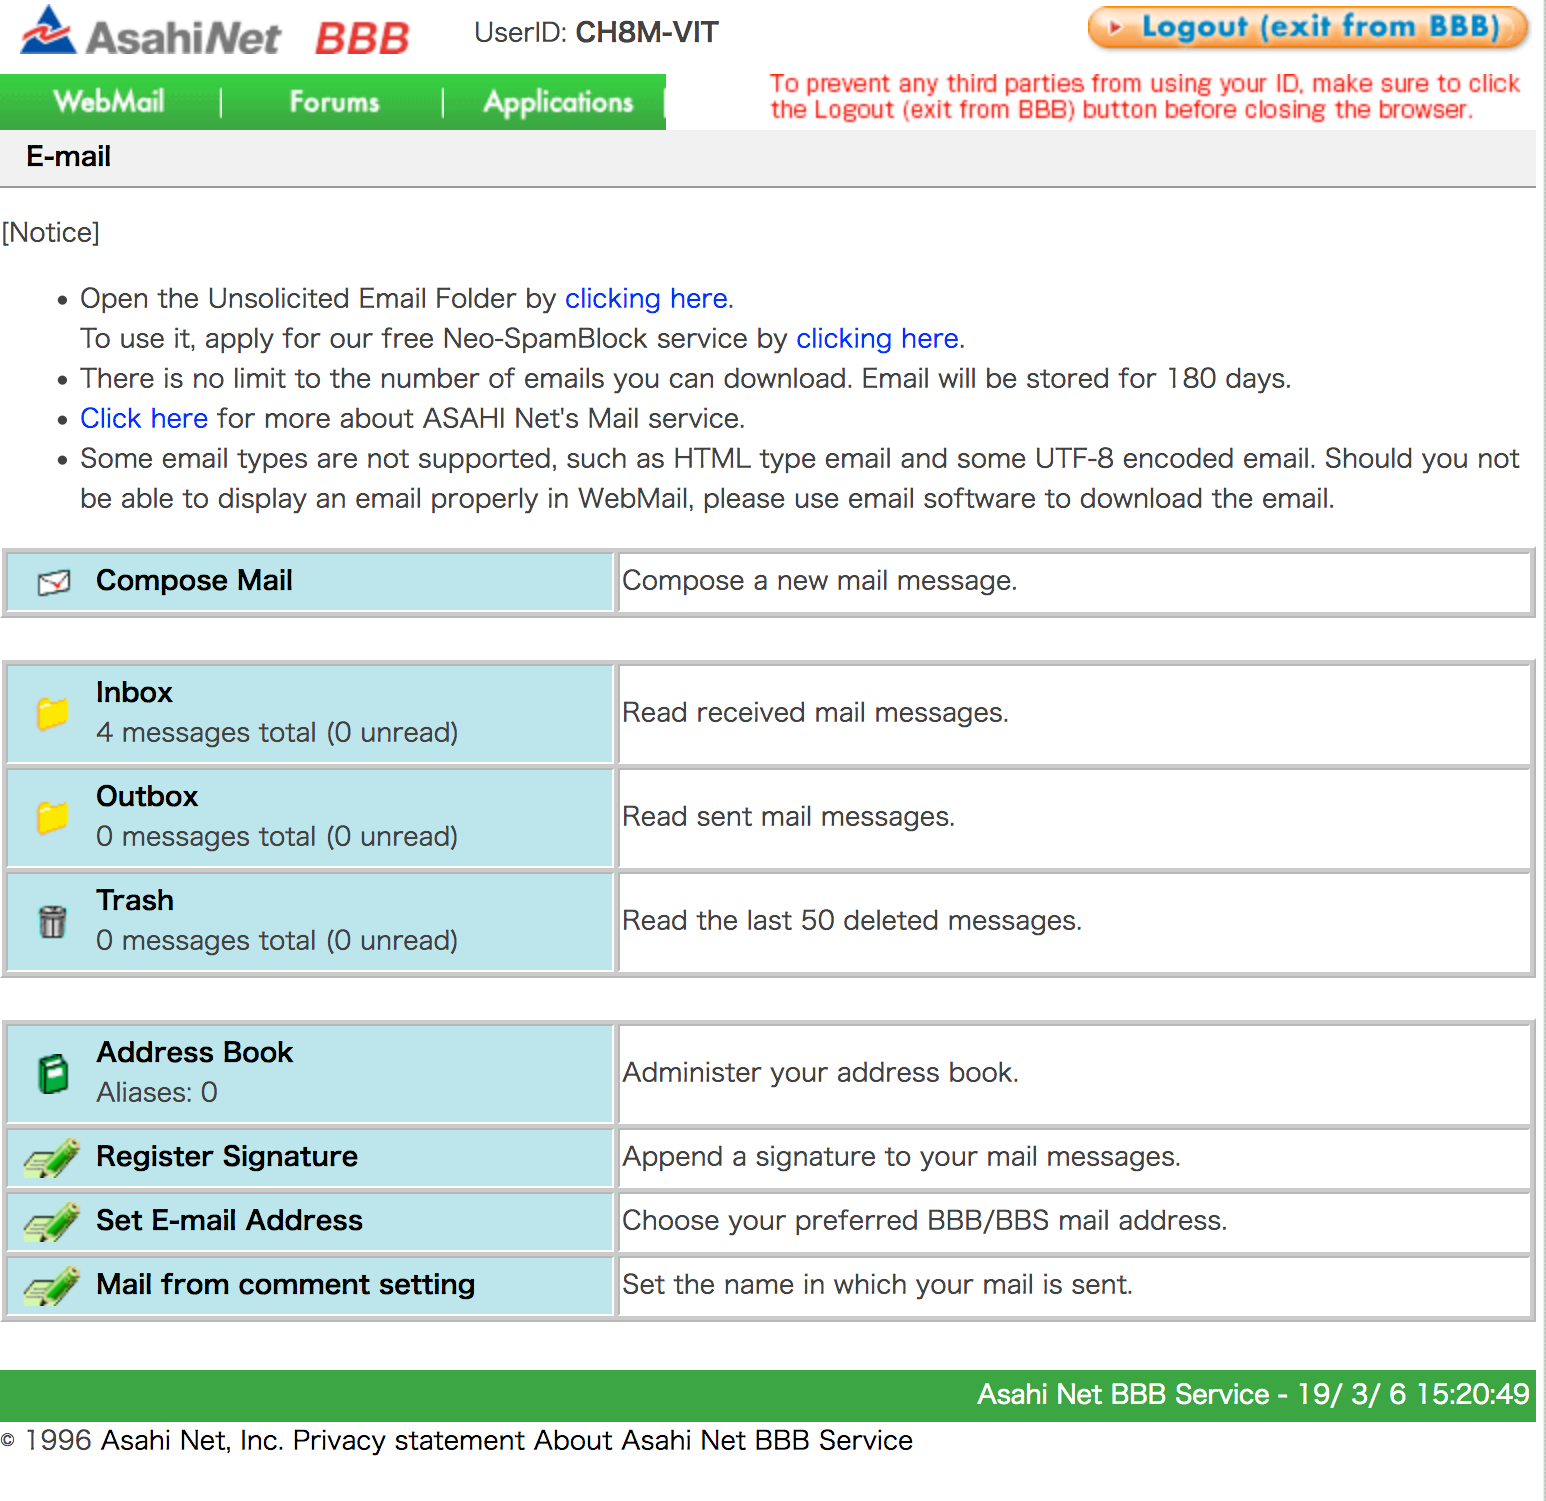
I can’t not mention Asahi Net’s installation package because it made me laugh so much, and brought so many nostalgic memories to me. The “package” is basically just a letter containing your Asahi Net username and password for both the connection and for various additional services Asahi Net provides. What are those?
- Admin panel that switches between English and Japanese semi-randomly on page reloads;
- E-mail address in case I wanted to exchange my old trusty e-mail address for a clearly much better sounding [email protected]; it’s only a shame that their webmail doesn’t support HTML e-mails, deletes any message after 180 days and has the year 1996 in the footer – based on how the webmail looks like, I’m not sure if that’s the date of creation or the date of last change;
- FTP credentials in case I wanted to similarly exchange milanvit.net and instead start hosting this website on a super-easily-rememberable-and-incredibly-user-friendly address of http://www.asahi-net.or.jp/~ch8m-vit/; 100 MB of space is included free of charge!
- However, their hosting seems seriously awesome – I mean, sure, it doesn’t support Node.js (so this site wouldn’t actually work there at all) or any technology created after the year 2000, but it supports execution of CGI scripts!
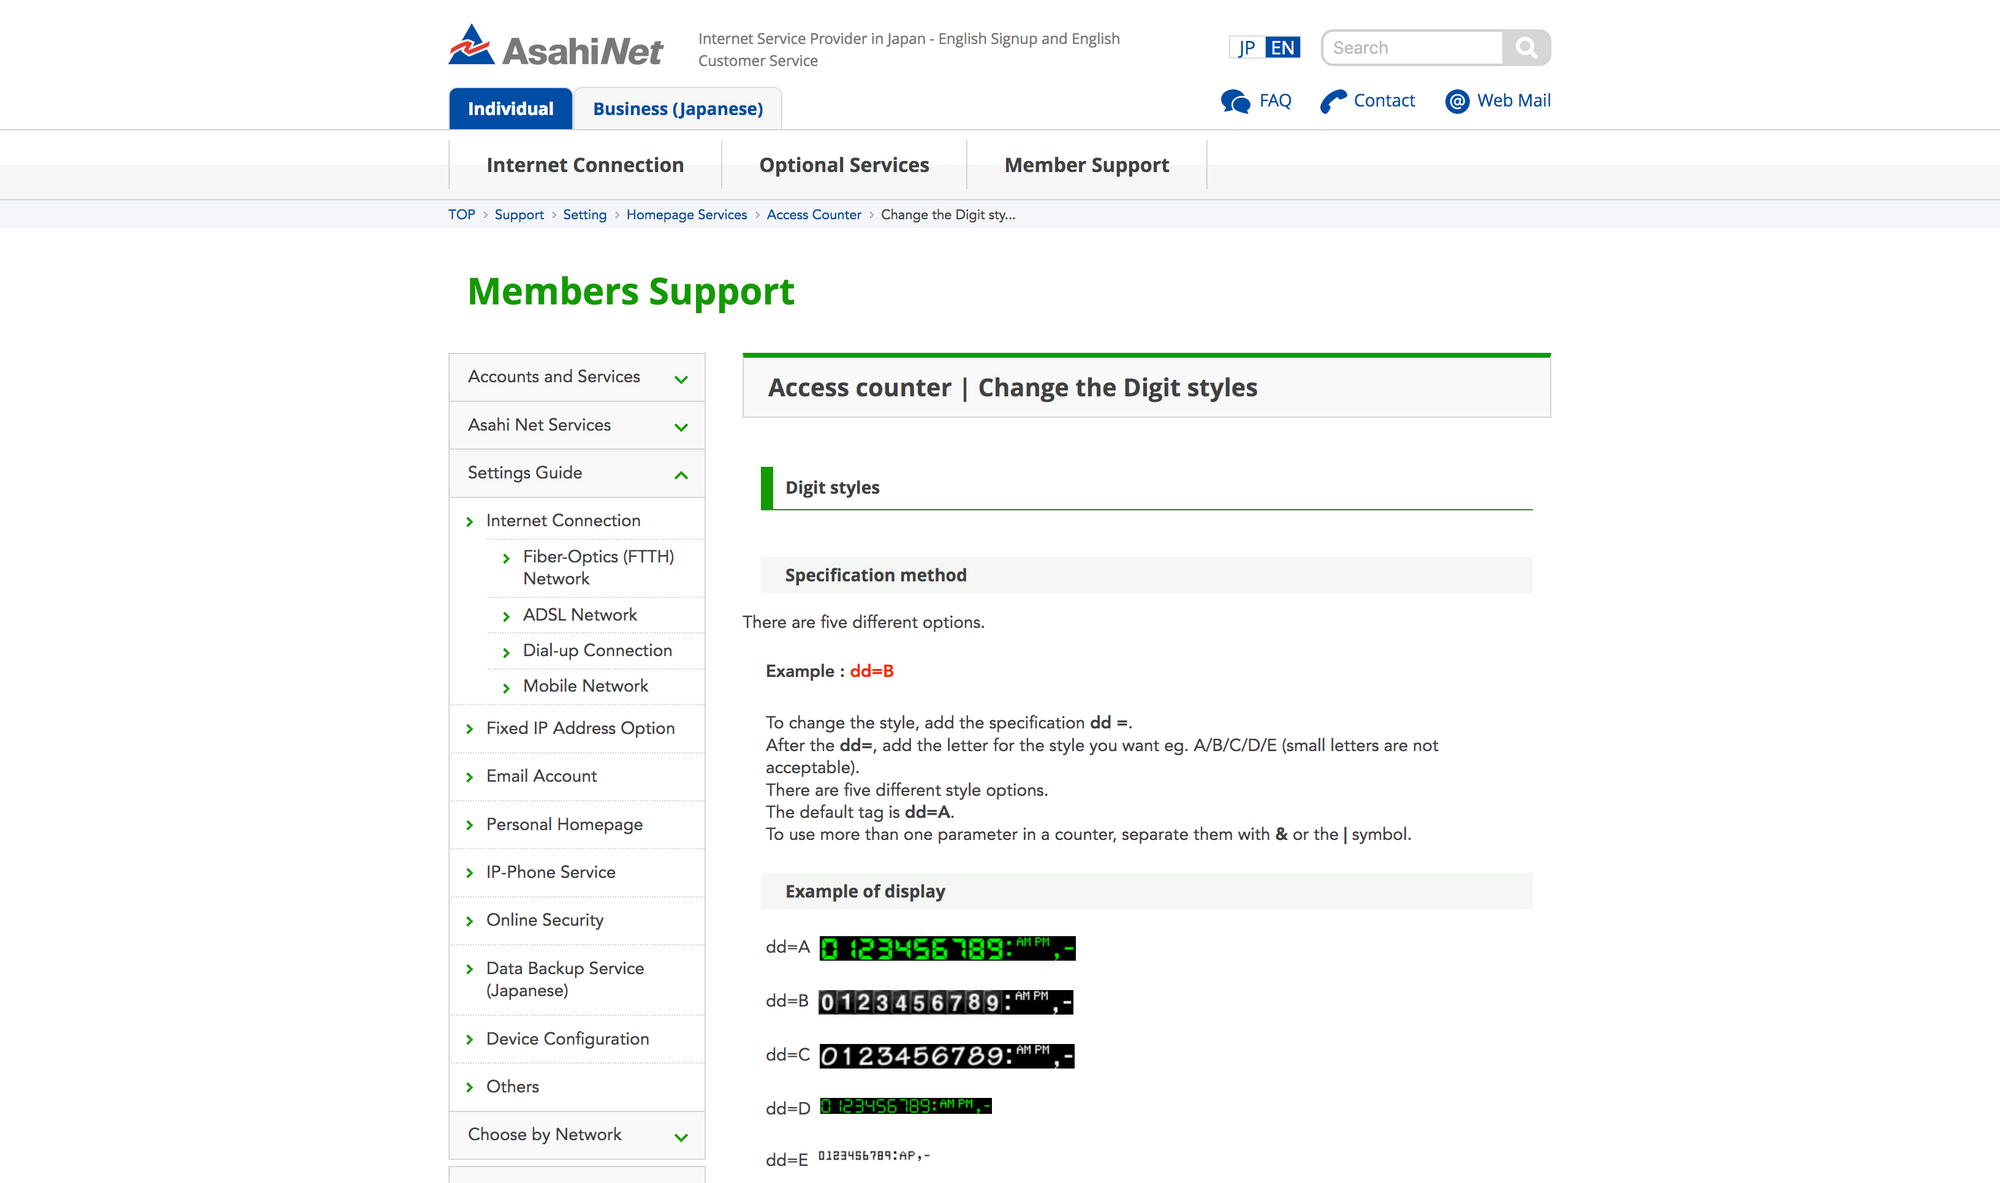
- What’s more, there are ready-to-use CGI scripts provided by Asahi Net – they really put the “provider” into ISP! So without much effort at all, you can have this rad looking visitor counter or this retro-style discussion forum! I seriously wish I could include the visitor counter into this article, just for fun.
Making sure everything works
So you’ve got a line rented, contract with ISP signed, modem in your hand, visitor counter added to your website, but how do you actually connect to the Internet? Again, if you’re like me used to the “plug and play” (by which I mean connect the Ethernet cable to the WAN connector on a router, obtain an IP address from provider’s DHCP server and… that’s actually it? 🤔) system typical in literally anywhere on this planet, think again.
PPPoE connection is the king in Japan, requiring you to authenticate using the credentials your ISP provided. That means your router will have to support PPPoE with either PAP or CHAP authentication methods (whichever is used depends on connection type, so to be safe, just make sure your router supports both) or you’re 💩 out of luck. My old super-cheap router only supported PPPoE in bridge mode, which I assume means that I would have to input the credentials on my laptop, which would also mean that only one device could be connected at any given time. What I’m trying to say, bridge mode = ️🙅♂️, PPPoE + PAP/CHAP = 🙆♂️. But that’s not all.
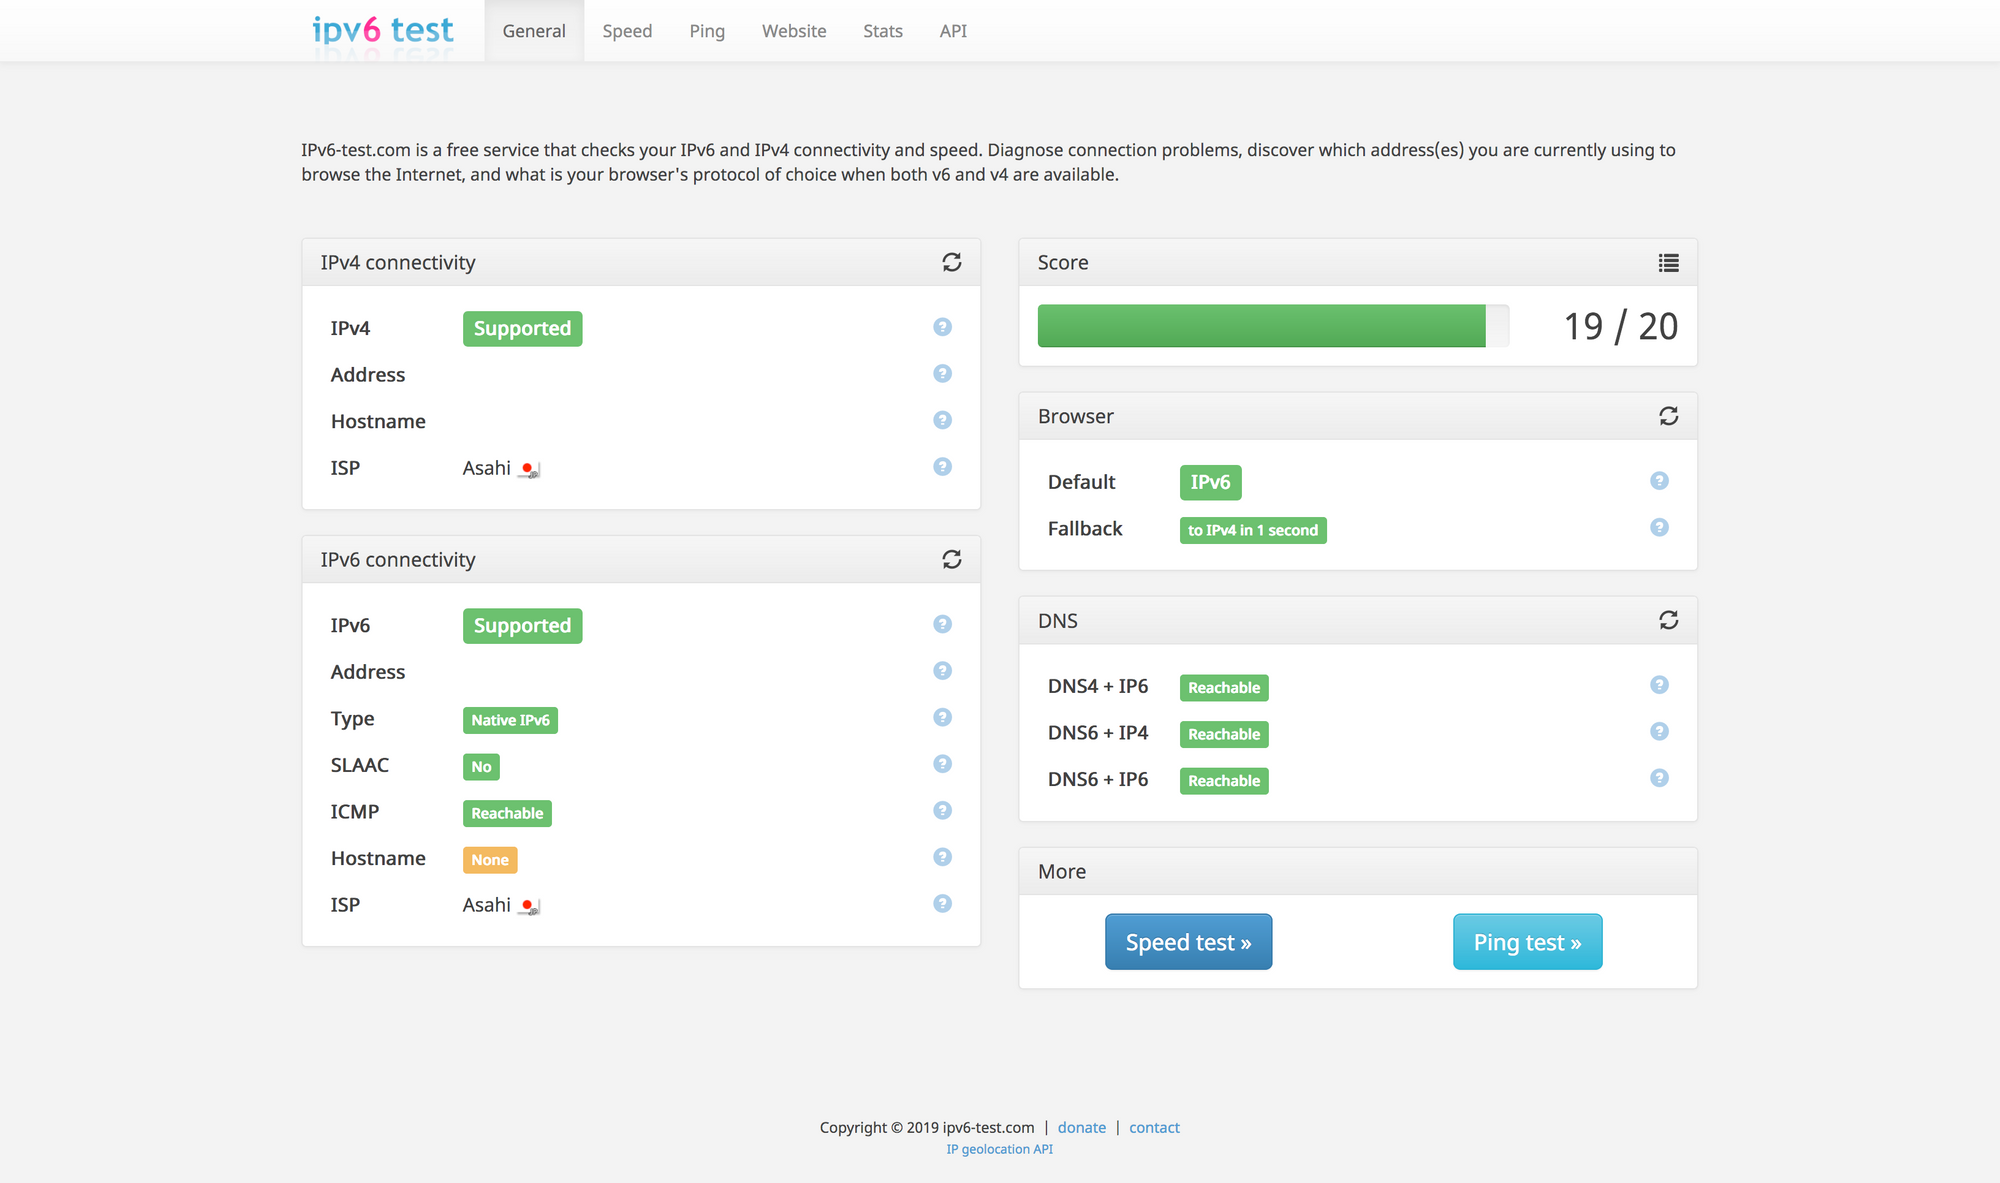
You’ll also want a router that natively supports IPv6, because on one hand, the usage of PPPoE is enforced, but on the other hand, the PPPoE authentication servers are apparently ridiculously overloaded, especially in peak time, bringing your connection speed down and causing random disconnects. I personally have not encountered this yet but have heard many reports of this behaviour, and apparently, the solution is to use IPv6. Therefore, make sure your router supports IPv6 as well.
So far so good, and probably any reasonable router you might have brought with yourself from your home country would do, so why not make things more complicated?
To also route all IPv4 traffic through the IPv6 connection, Japan uses DS-Lite and Map-E technologies to tunnel the traffic through the fast IPv6 lanes. However, because these technologies are heavily used mostly only in Japan, barely any western router manufacturer bothers with supporting them. The lack of support of DS-Lite, unfortunately, meant that I had to let go of my dream to base my network completely on hardware by Ubiquiti – maybe next time? 😢
Your only hope here is to get a router by a Japanese manufacturer, meaning you have to spend your hard-earned cash AND then fight with a router admin interface completely in Japanese. Isn’t this fun?
Based on this article over at Ata Distance website (thank you so much for both this article and help over on Twitter!), you can pick a Wi-Fi router from either Buffalo, NEC or IO-Data. I already had a fairly bad experience with an NEC router (and based on what I read online, I’m definitely not the only one), so I went with a high-end choice of Buffalo WXR-1901DHP3. And despite Buffalo’s customer support claiming that this router definitely will not work with Asahi Net, it works like a charm and I can heartily recommend it so far 🤞