Gallery: building my own home server

Let’s pretend I didn’t forget to write anything for the past two years, nor finish my article on shell setup, and let me show you my latest addition to my home IT collection instead.
I have published some articles about how this website, as well as my personal cloud file, media and mail servers, are run on a dedicated root server rented from Hetzner and managed entirely via Dokku, but if everything goes according to plan (as it always does, of course), all of that may change very soon as most (or all?) of my self-hosted services will migrate from Germany to my own home office. How?
Turing Pi 2 🥧
Nearly a year ago, I backed a Turing Pi 2 project on Kickstarter – the first time I ever bought anything from that site, as Kickstarter’s model of operation doesn’t really play well with my never-ending trust issues 🤭
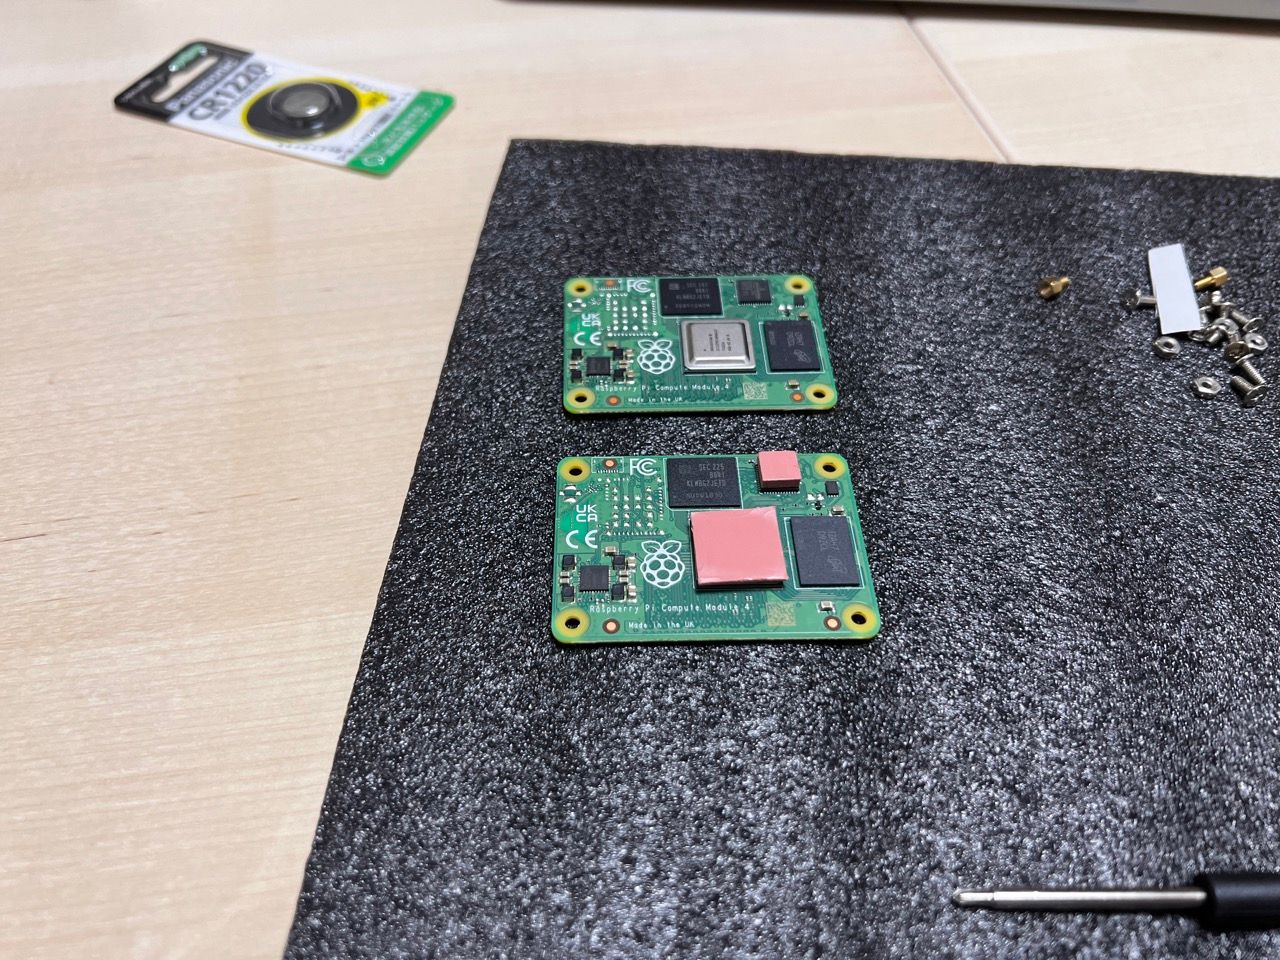
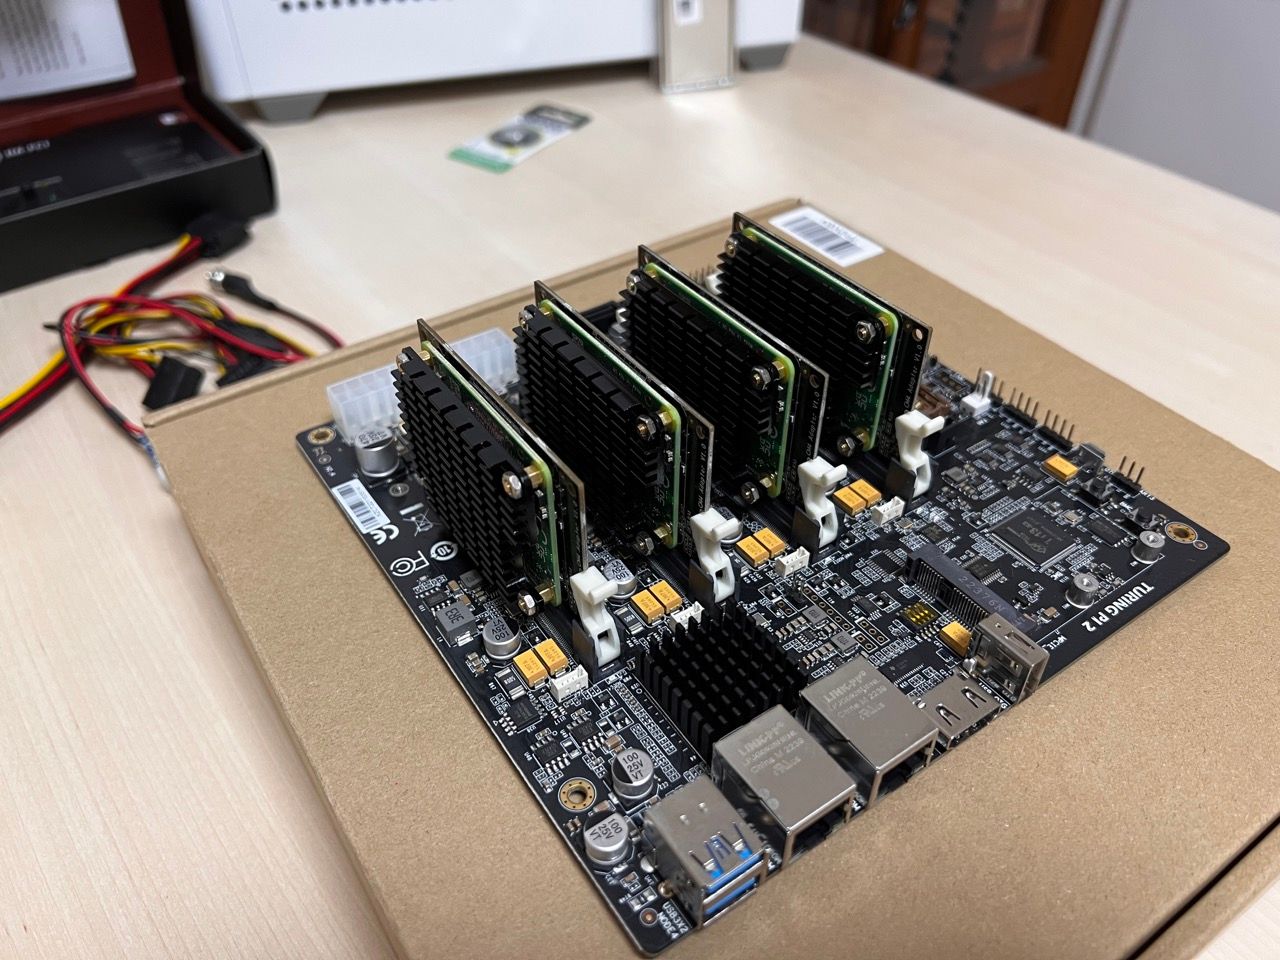
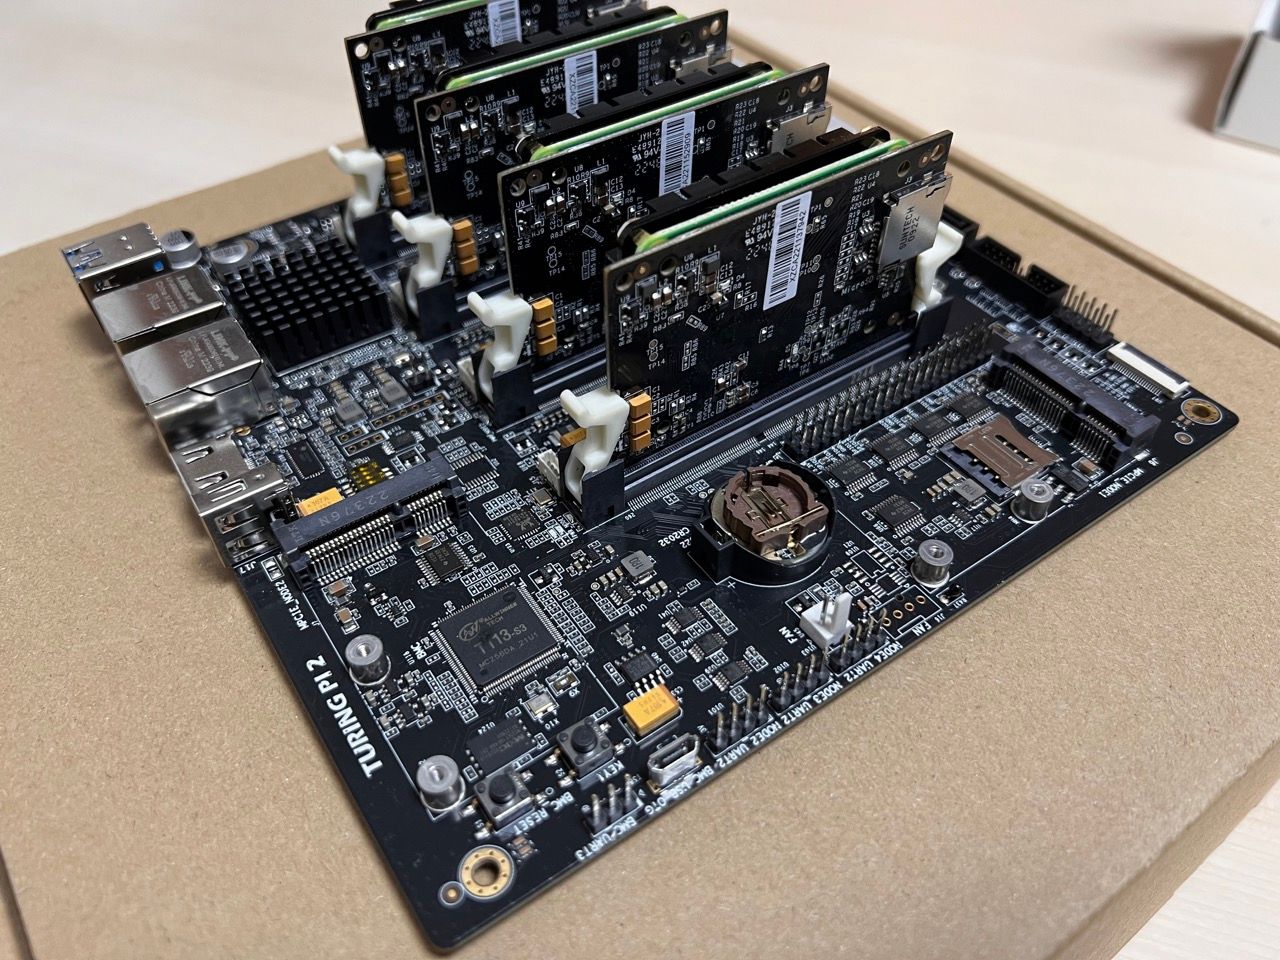
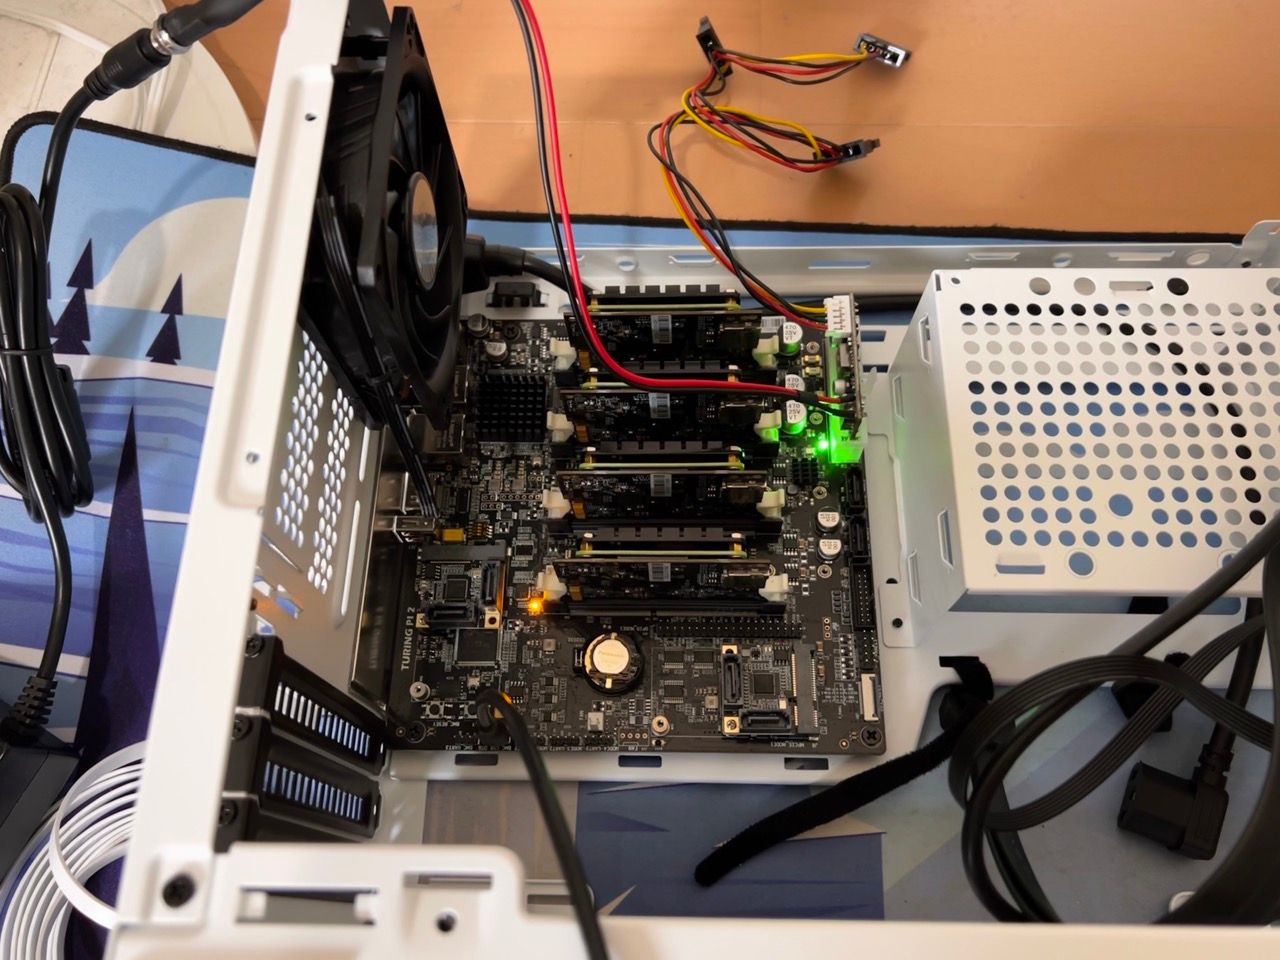
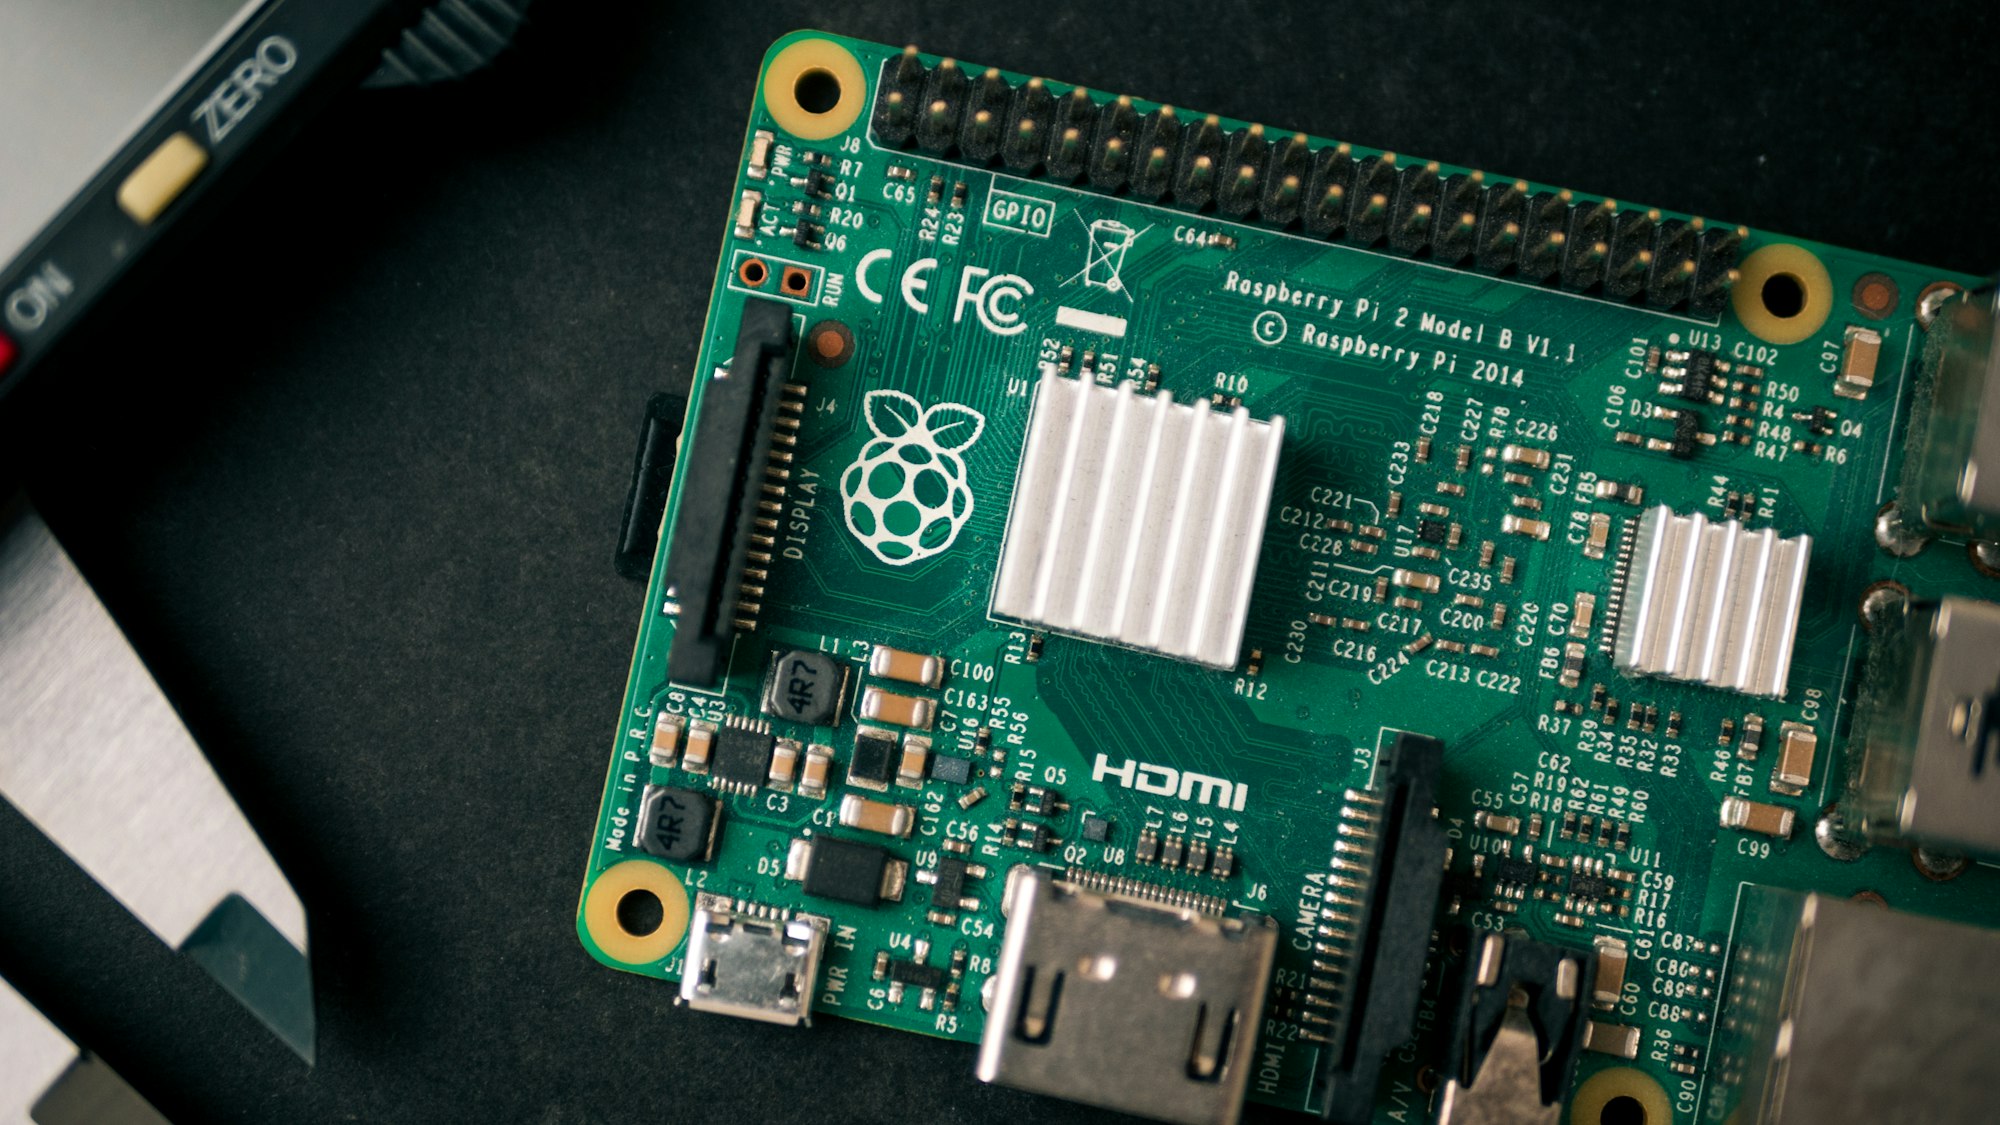
Turing Pi is a Mini-ITX board capable of hosting up to four Raspberry Pi Compute Module 4 – Compute Module 4 is the same heart and brain beating in the regular Raspberry Pi 4 Model B, but missing all the I/O capabilities, instead expecting to be plugged into another board that would expose all the necessary inputs and outputs.
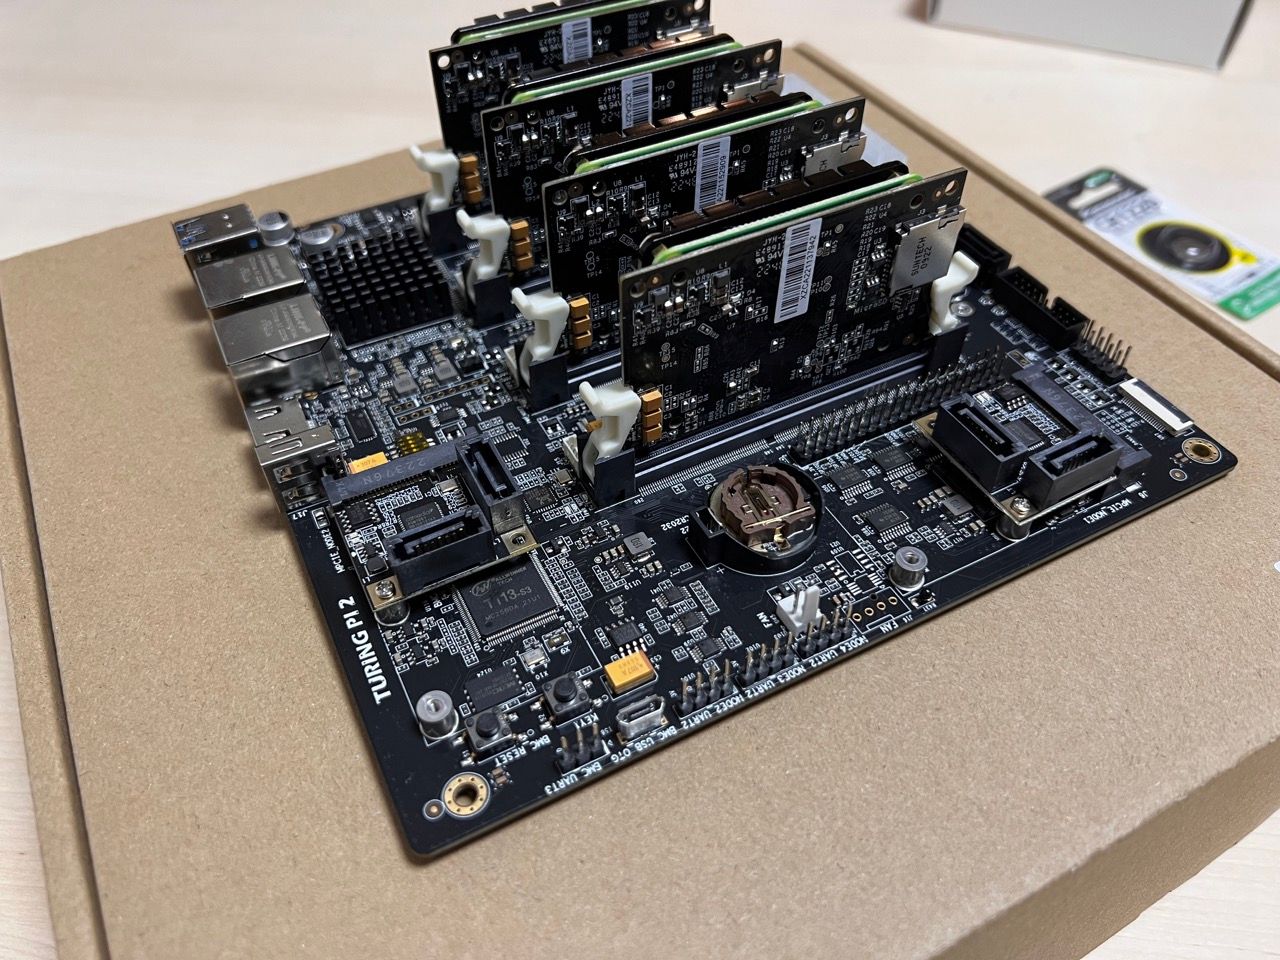
And expose it does! All CM4s running in Turing Pi get their power and network connections (of course), as well as nodes 1 & 2 gaining access to a Mini-PCIe slot, node 3 getting access to two SATA ports and finally node 4 getting access to USB ports. There are more connections and ports exposed but these are the primary ones that are interesting to me.
Building time 🛠️
Through various delays caused by components shortage and RTC battery issues, it took until last week to finally get my hands on the board, but I’m almost tempted to say that it was worth all the wait as the board is glorious (and so tiny and cute!), and building a home server has been so far a great joy.
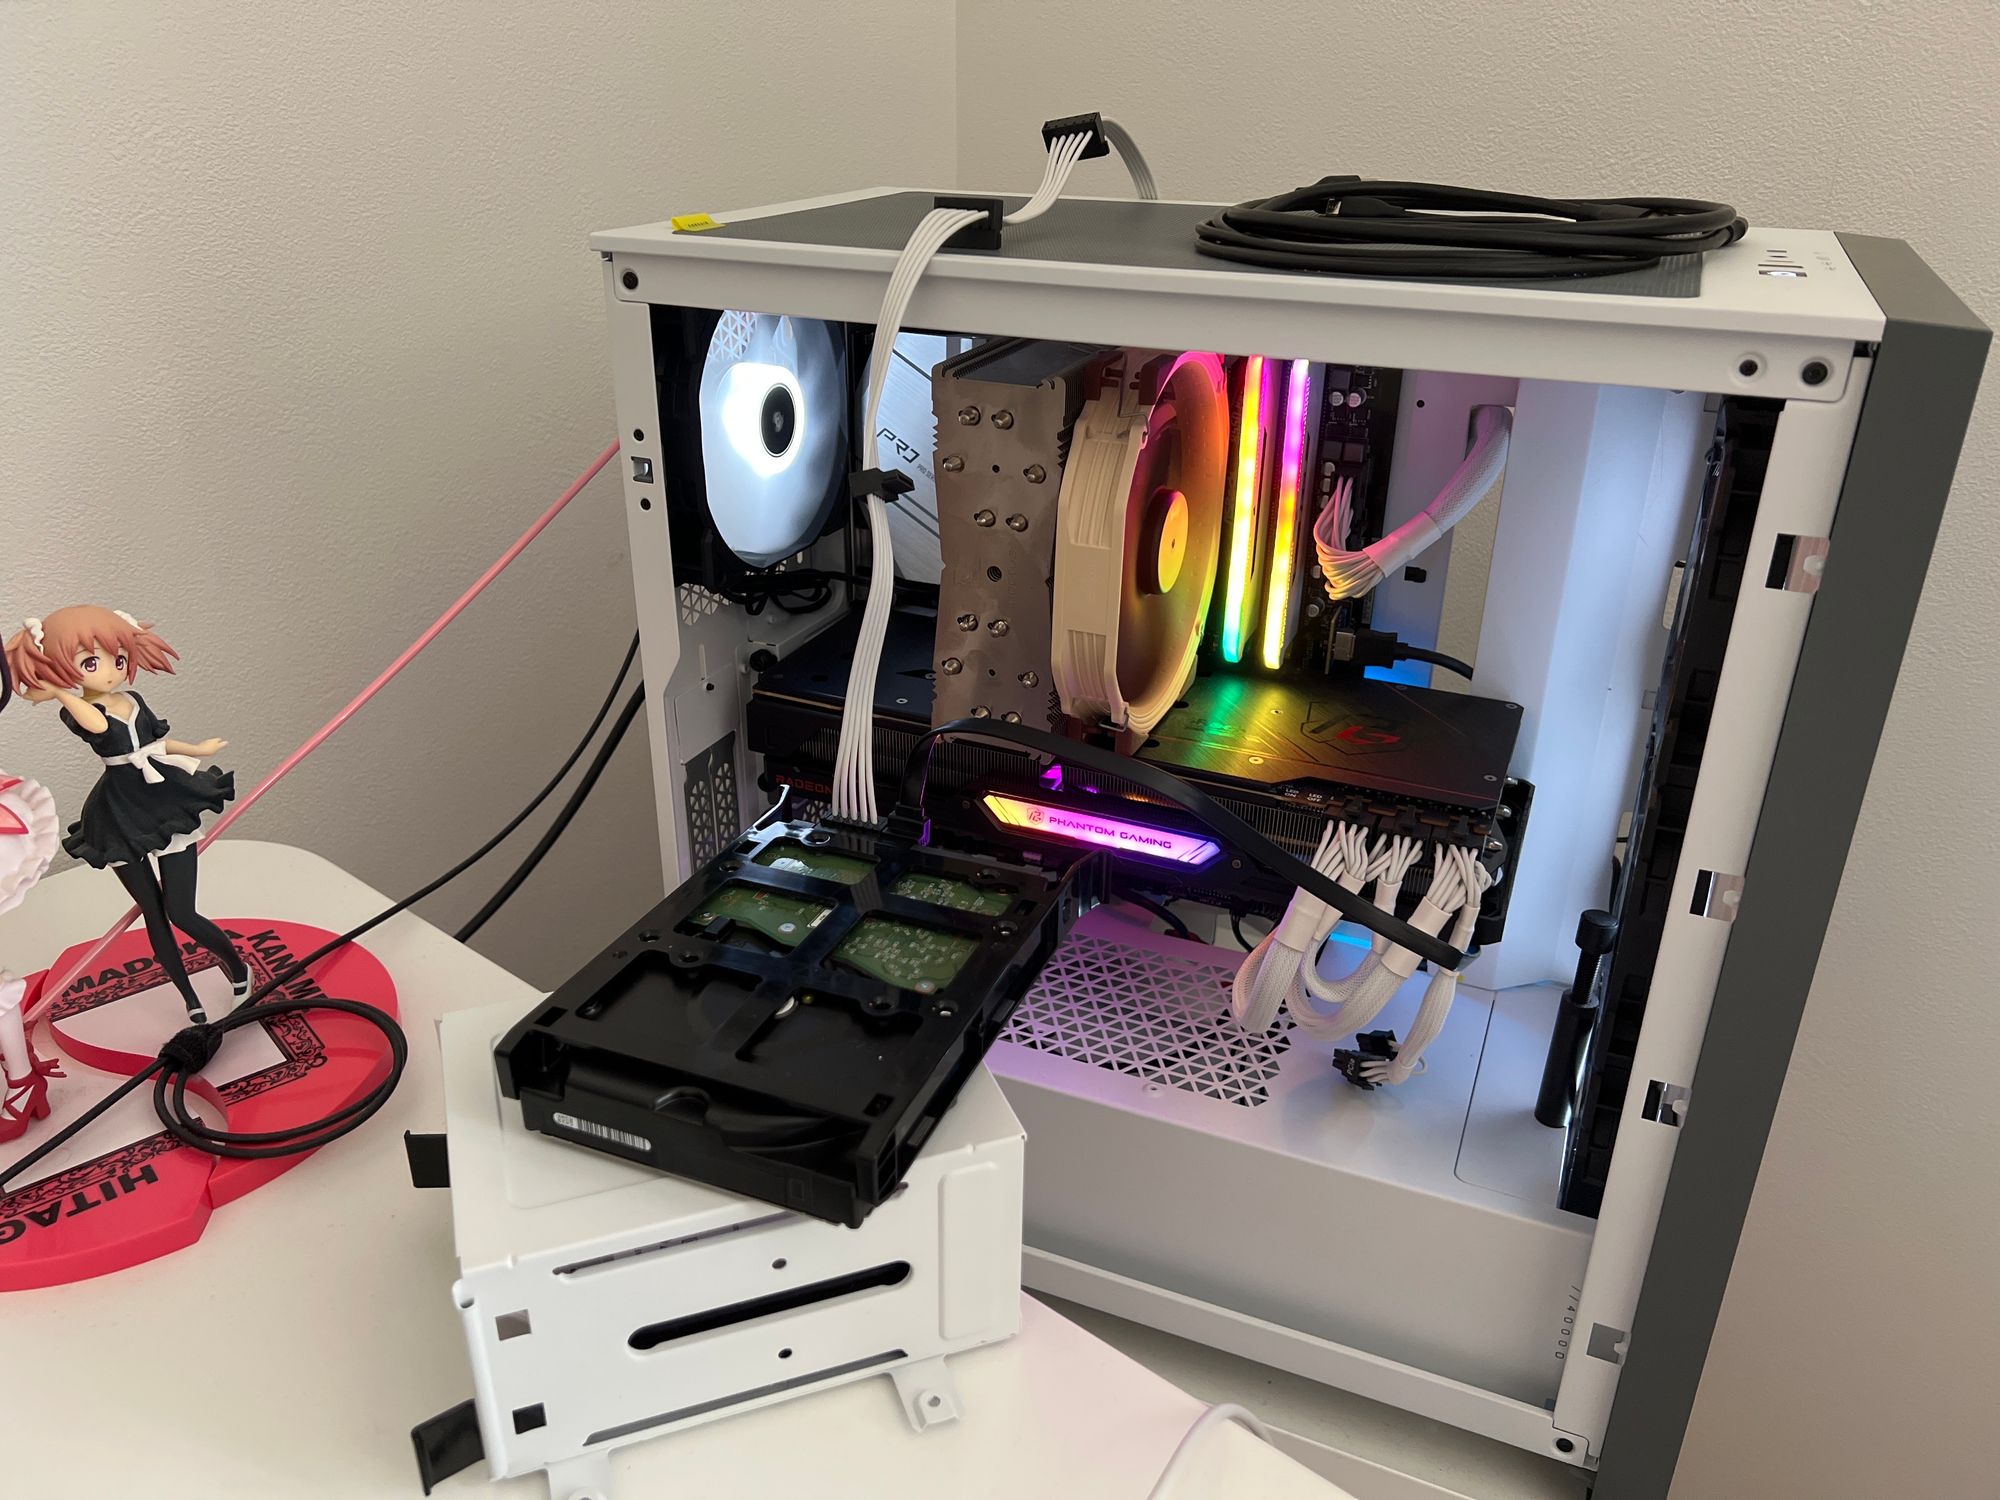
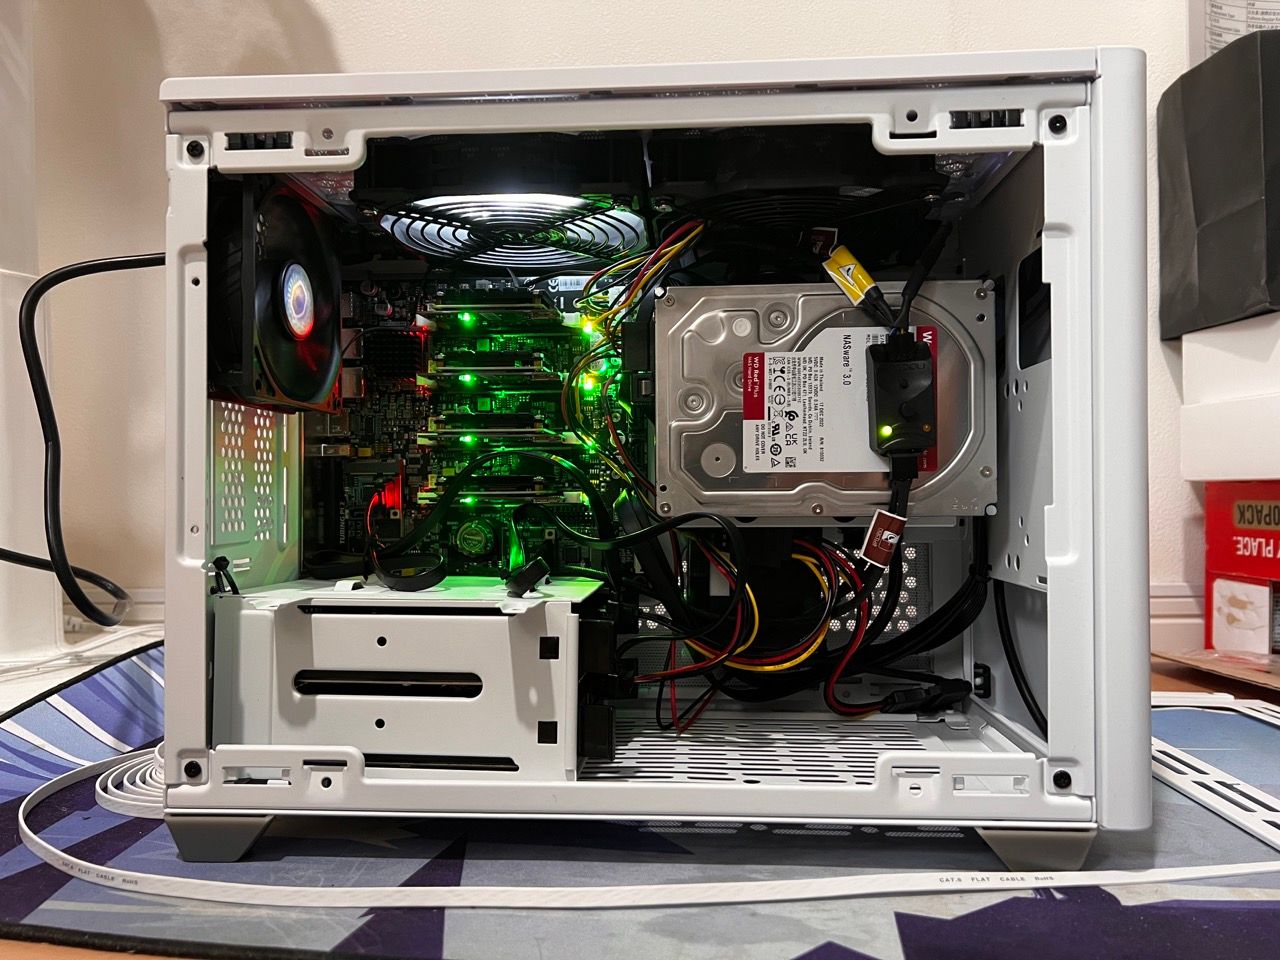
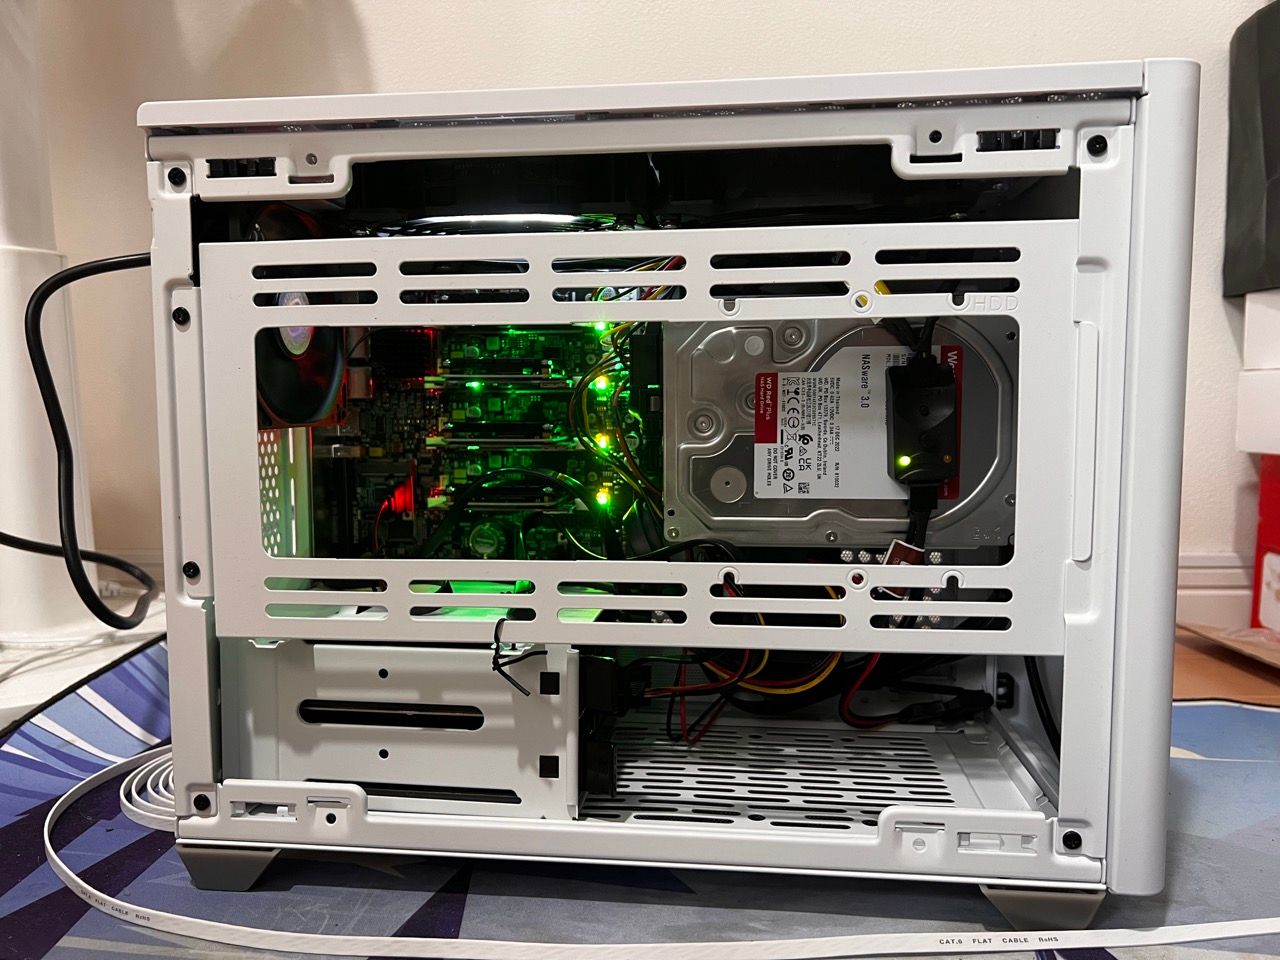
So far, I’m only done with the hardware side of things, as coming up with an idea of how to actually safely migrate all of my services and have them run in Kubernetes will take some additional thinking that I don’t have the time for right now, but what I can show you are the obligatory photos from building the cluster up to this point. And hey, it’s already a working cluster, that allows me to experiment with new Kubernetes ideas every day!
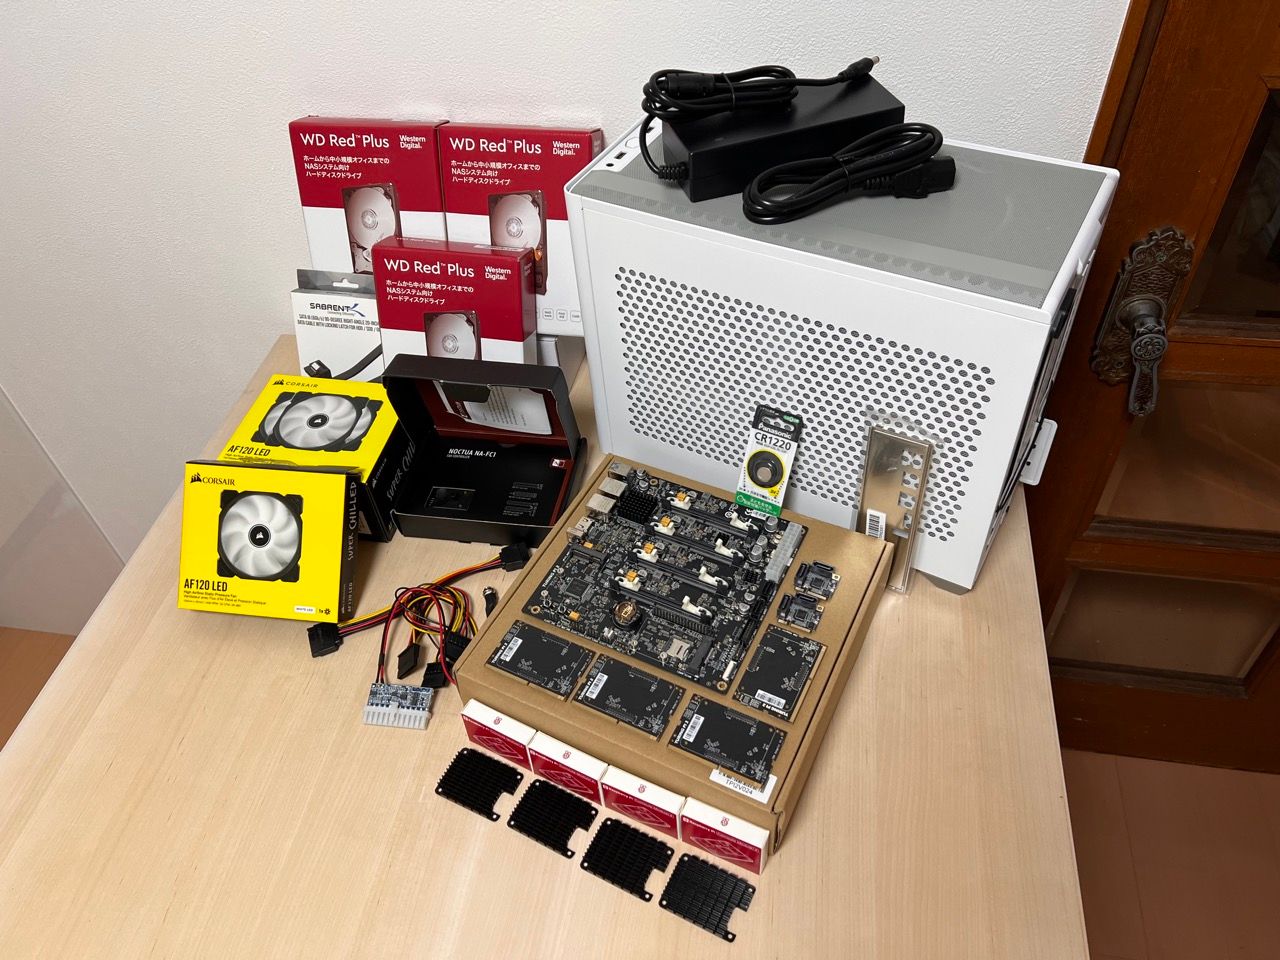
Before we get to the pictures, here are all the parts I used. I originally planned on a much smaller set of components, but as the shipping date for Turing Pi kept moving, my brain couldn’t stop thinking about additional improvements and ways to spend more money, so here goes:
- Turing Pi 2 board, obviously
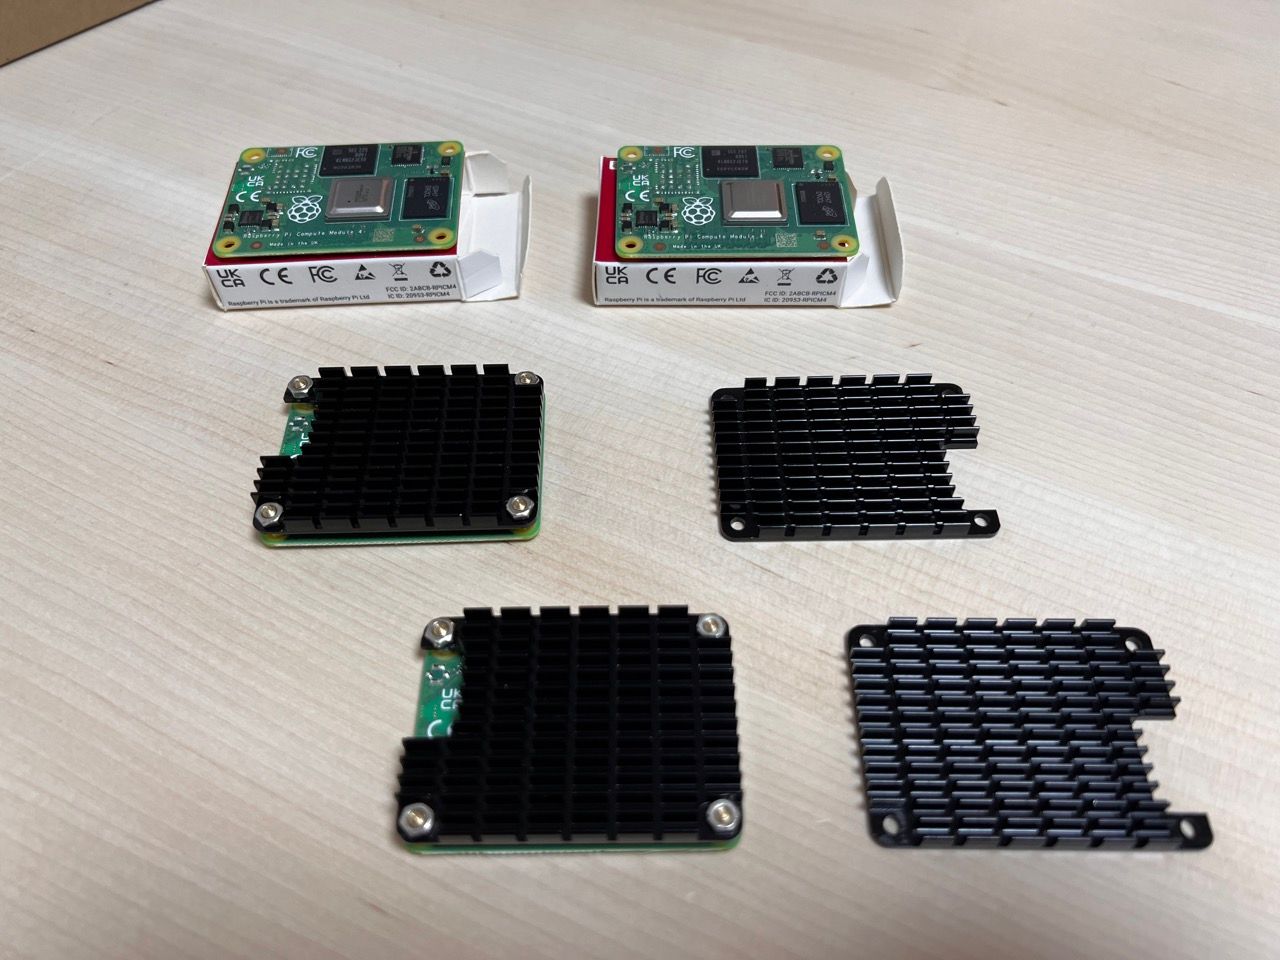
- 4x Raspberry Pi Compute Module 4, 8 GB RAM, 32 GB eMMC, no wireless
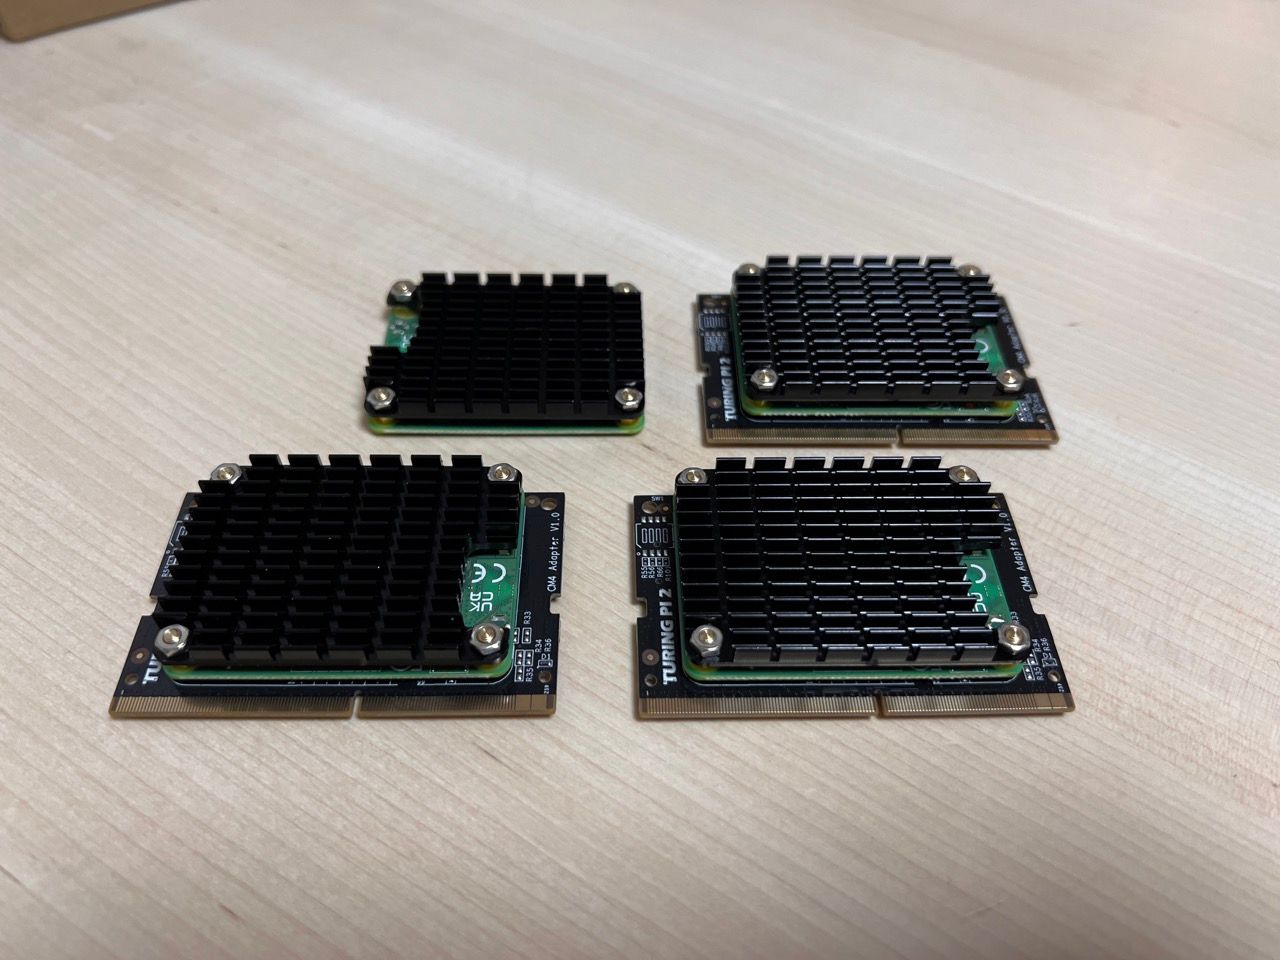
- 4x CM4 Adapter board
- 4x CM4 Heat sink
- Cooler Master MasterBox NR200 Mini-ITX case
- 2x Mini-PCIe to SATA adapter
- 3x Western Digital 3.5" HDD, 8 TB
- Noctua NA-FC1 fan controller
- 2x Corsair AF120 LED 120mm fan
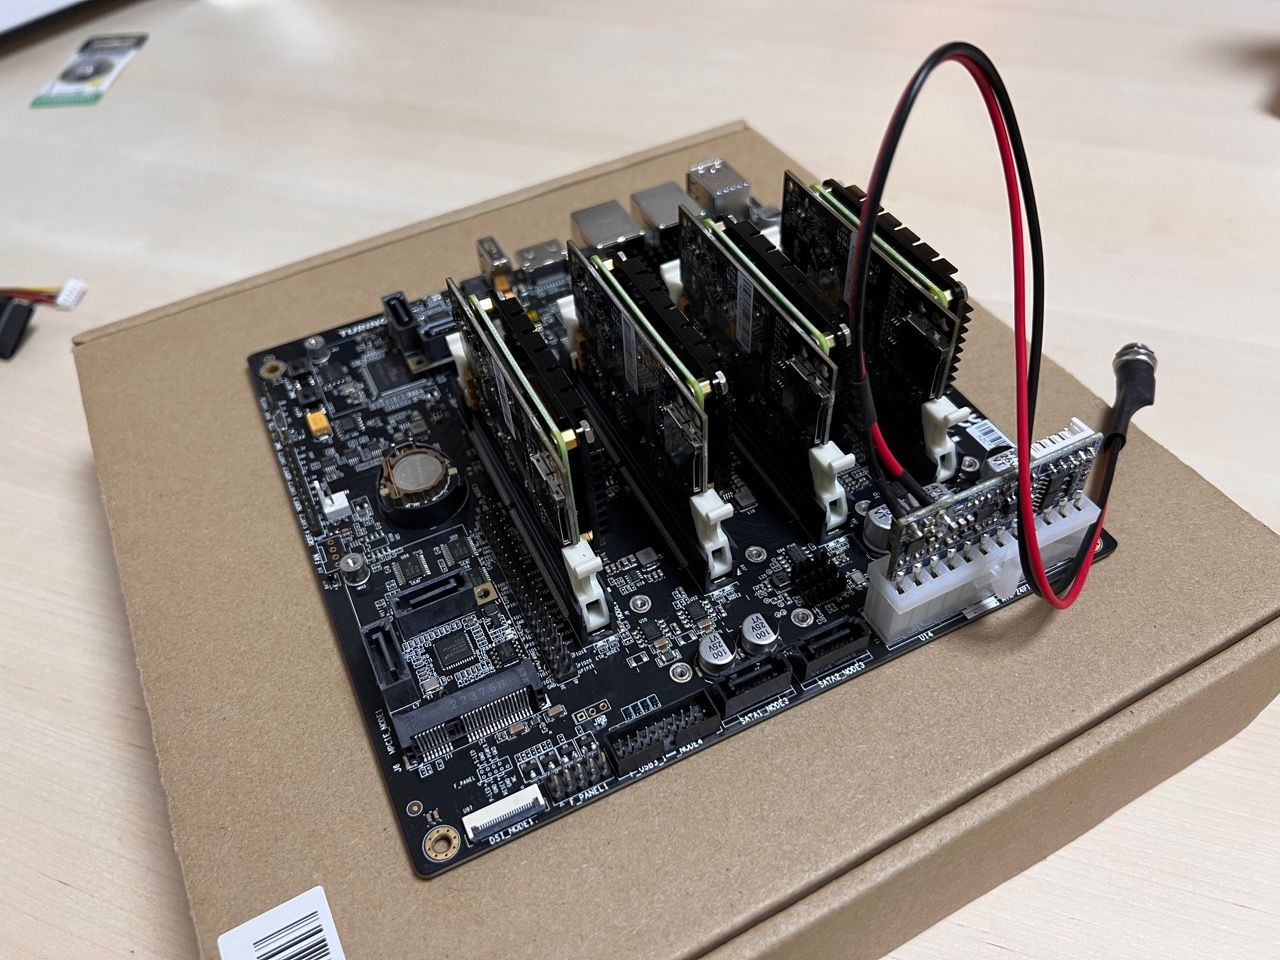
- PicoPSU power supply
- SATA power cable Y-splitter (need to power 3x HDD while also powering 3x fans)
- I/O shield and CR1220 RTC battery 🤭
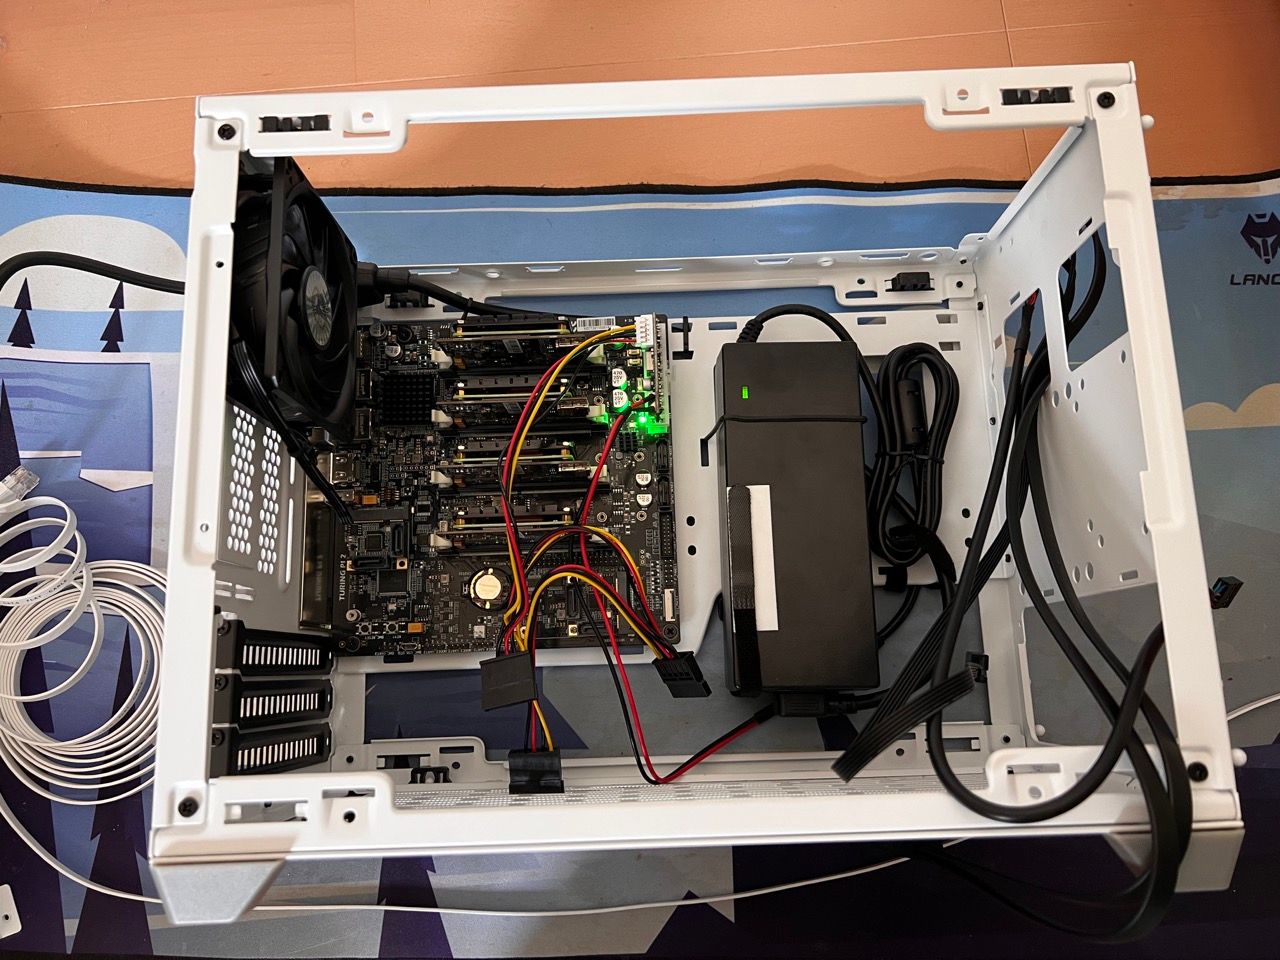
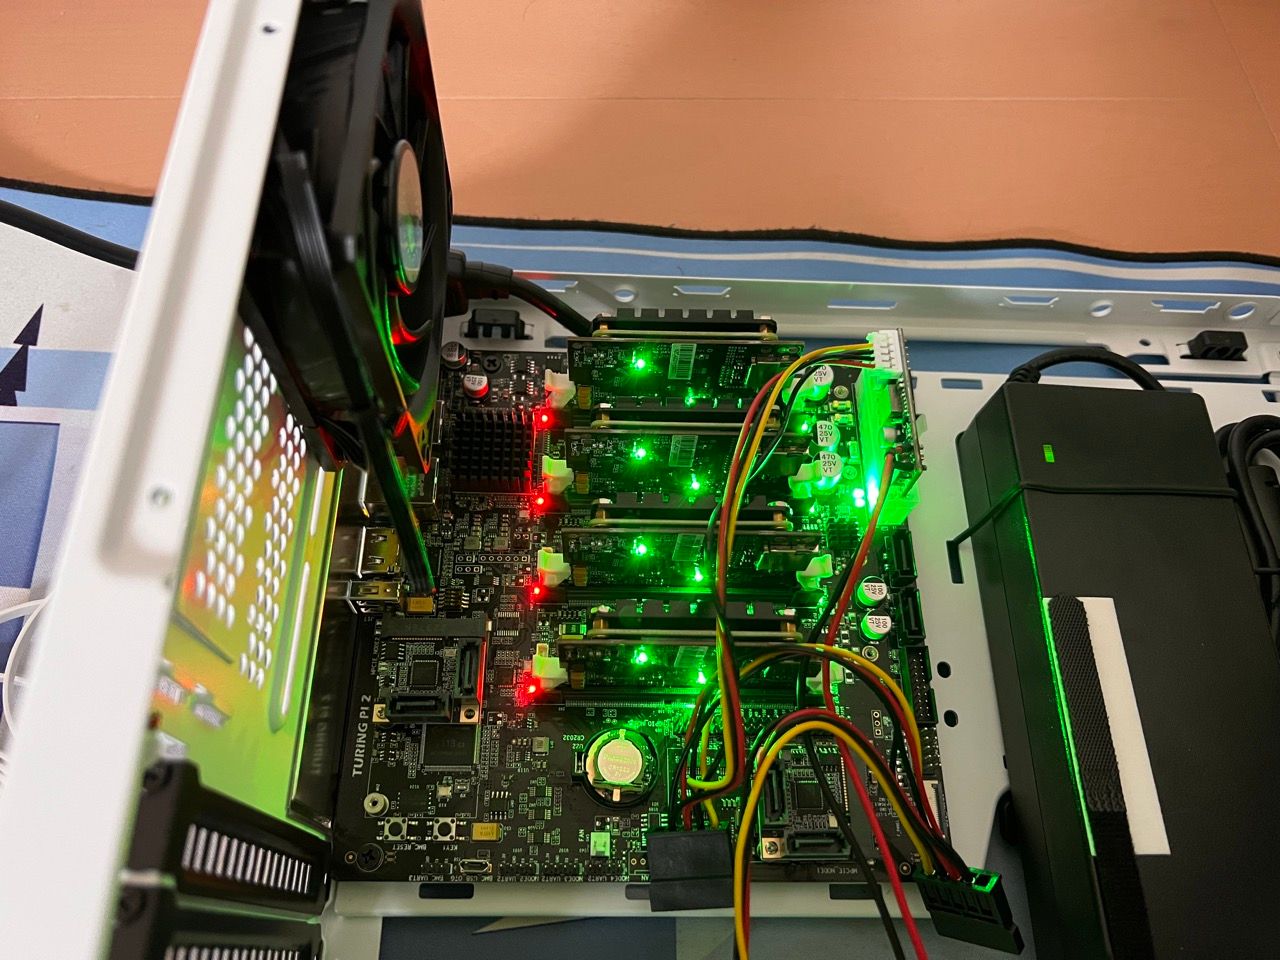
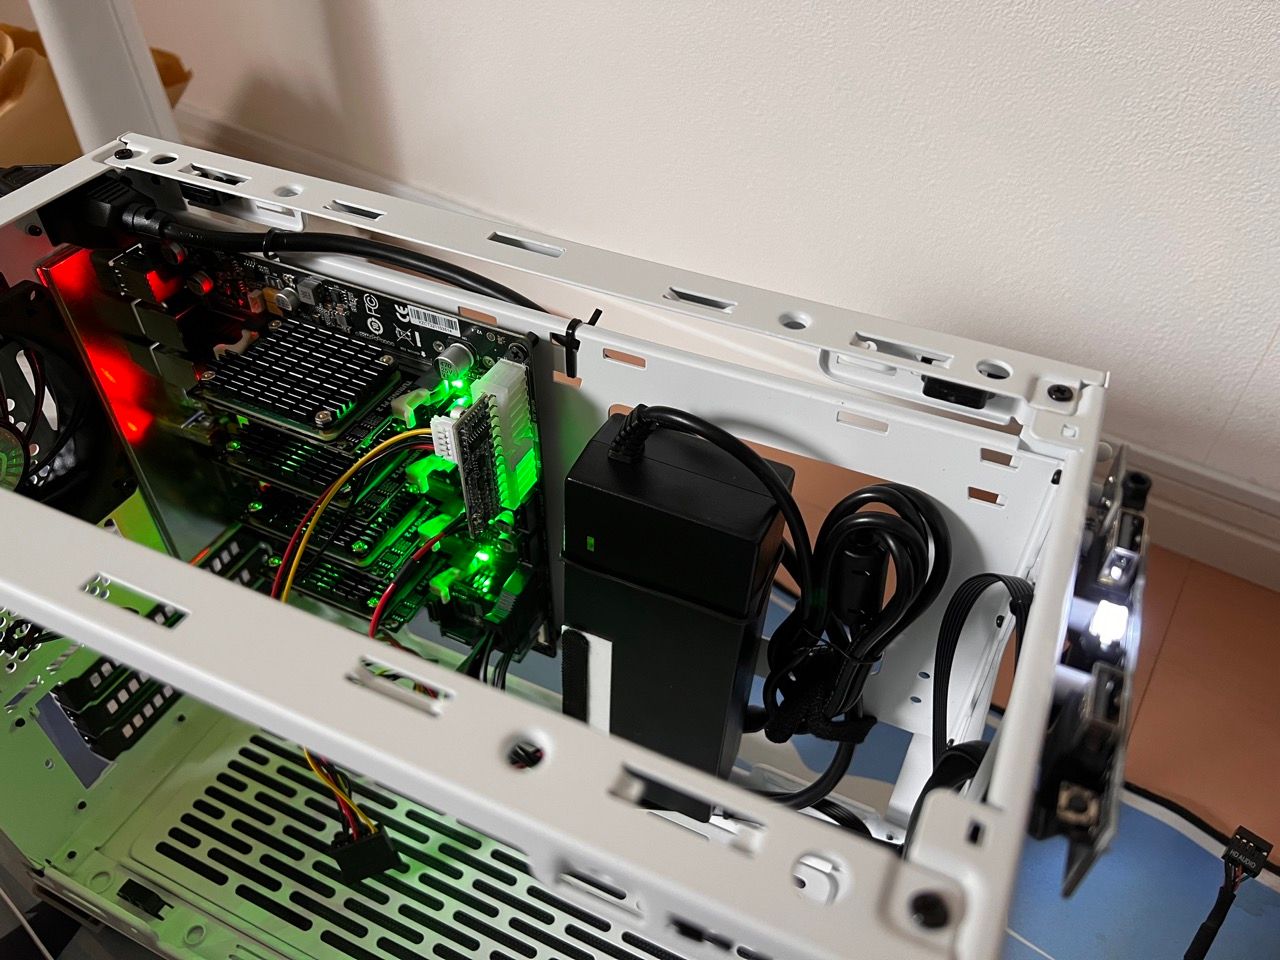
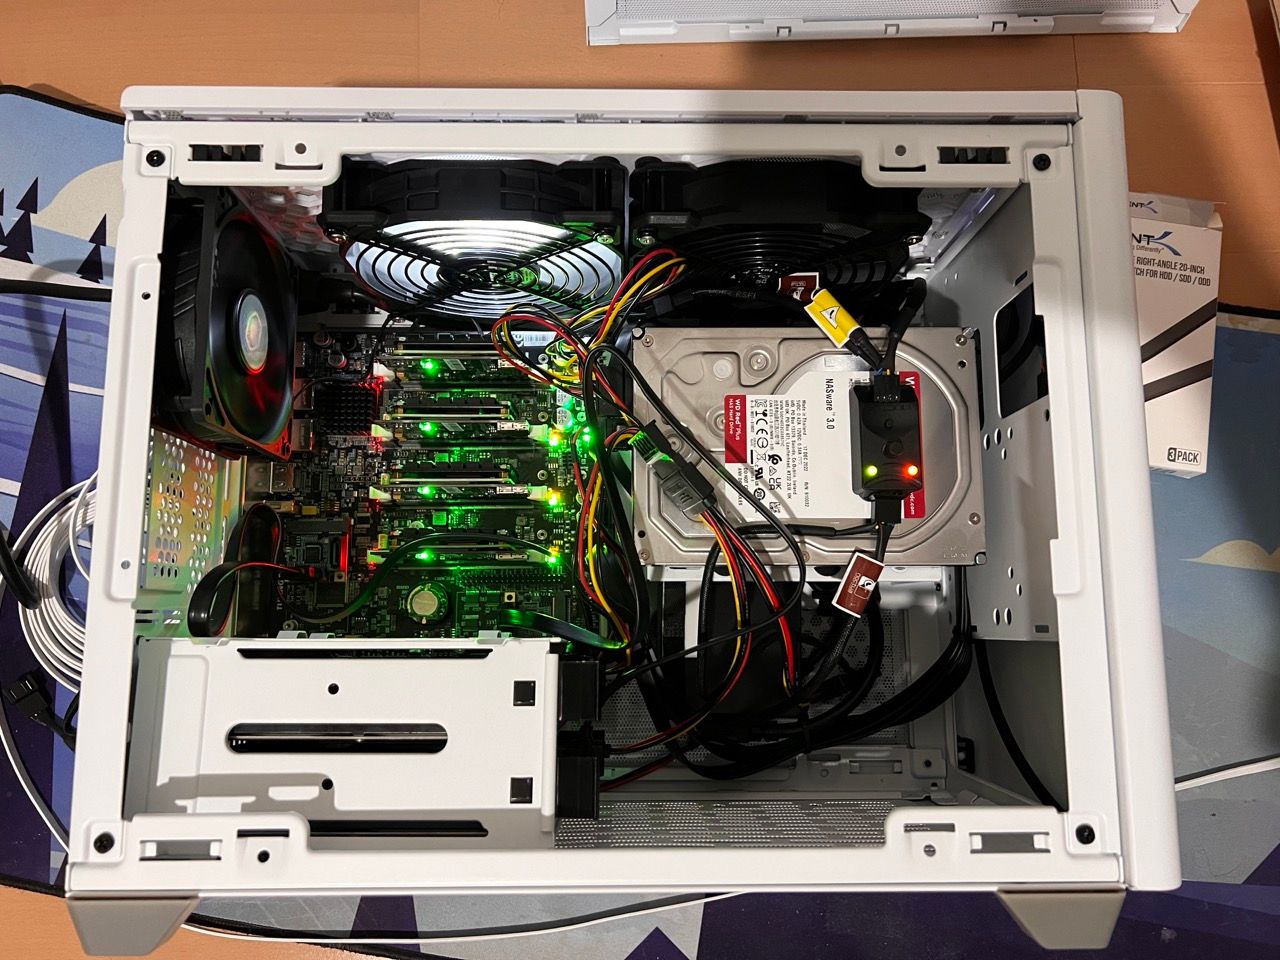
Photo time! 📷