Taking self-hosting to a whole new level
In my previous article, I briefly described how I modernized the way this website is hosted, and how I better utilized the VPS it’s running on. Since then, I tweaked a few things and added one really big feature. Let me show you around a bit, I think you’ll like it.

In my previous article, I (not so) briefly described how I modernized the way this website is hosted, and how I better utilized the VPS it’s running on by also self-hosting my own mail server. Since then, I tweaked a few things and added one really big feature. Let me show you around a bit, I think you’ll like it.
The importance of having back-ups 🔐
First, I realized that at this point, I’m having way too many eggs 🥚 in one basket, or rather, way too much data on one server. And while I hope that nothing will ever happen to it… hope alone doesn’t fill me up with confidence. There are three types of data being stored on the server: application’s persistent storage, data in MySQL databases and configuration. I focused on backing up the first two, starting with MySQL. Oh, and of course the entire mail server, duh 🤪
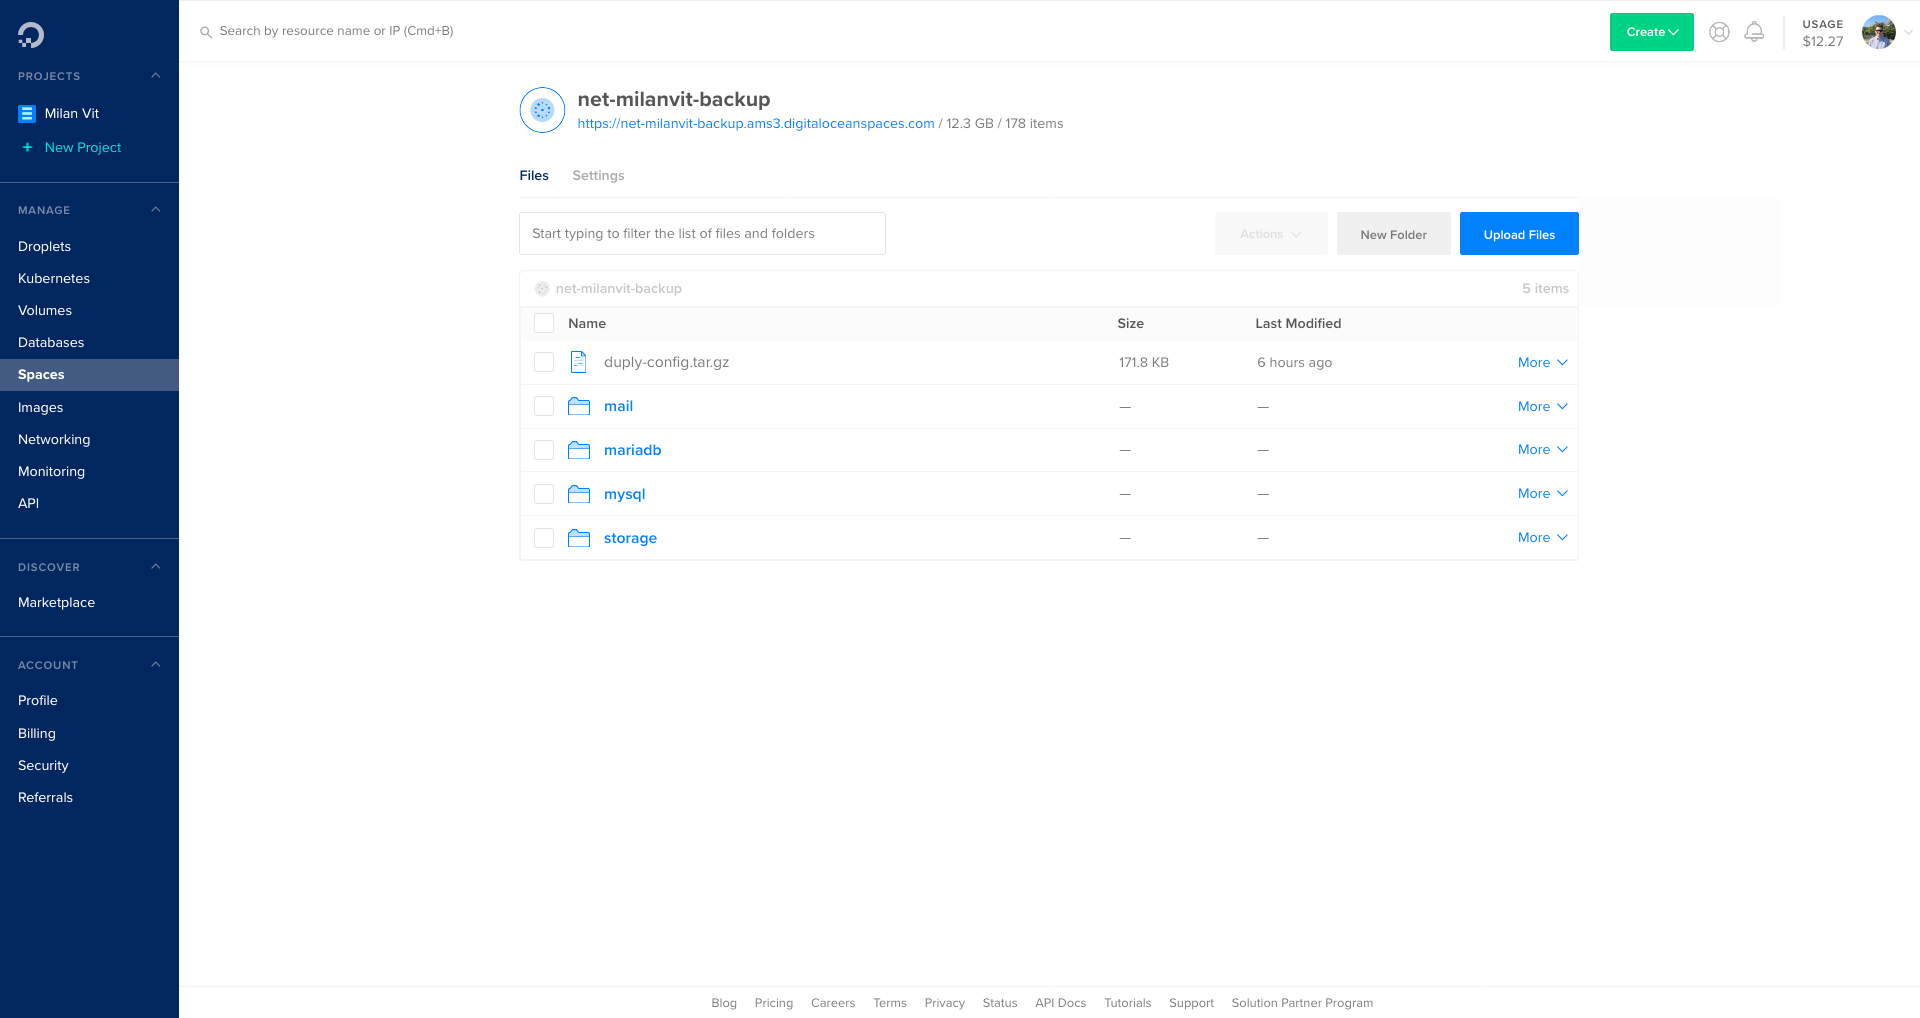
Dokku’s MySQL plugin supports automated back-ups to AWS S3 or any compatible service, such as DigitalOcean Spaces. And while that’s a wonderful and easy-to-use feature that I used for a few days, in the end, I realized I want something slightly more robust. Namely, I want to get notified if back-ups fail and if possible, I want the procedure to back up databases to be similar as the procedure to back up the persistent storage later on, so that configuration is stored in one central place.
Turns out that it is possible with duplicity and one of its front-ends, Duply. Duply’s website is super-crude and looks like it fell straight out of 2005, but don’t let that discourage you because Duplicity is amazing and Duply just makes Duplicity’s usage a piece of cake 🍰
In short, Duplicity takes care of managing back-ups, signing and encrypting them, downloading and uploading them to a storage service of choice (in my case, DigitalOcean Spaces), pruning old back-ups, making incremental back-ups and of course, restoring from a back-up. Duply then allows for a centralized configuration and automatic triggering of pre- and post-back-up scripts, which is something I need to implement monitoring.
After creating a back-up profile with duply mysql create, I adjusted all the necessary configuration in ~/.duply/mysql/conf (things like which directory to back-up, where should the back-up be stored, how many days should back-ups be stored for, etc.) and then created following pre- and post- hook scripts in ~/.duply/mysql/pre and ~/.duply/mysql/post respectively:
#!/bin/bash

# Report the cron job as started
curl --retry 3 https://<cron-ping-url>/start

# Make sure the backup location actually exists
mkdir -p $SOURCE

# Dump the data
for database in $(dokku mysql:list | grep -v missing | grep -v NAME | awk '{ print $1 }'); do
  timestamp=$(date -u "+%Y-%m-%d-%H-%M-%S")
  filename="${SOURCE}/${database}-${timestamp}.sql.gz"

  dokku mysql:export $database | gzip -c > $filename
done
#!/bin/bash

# Remove local backup to save on SSD space
rm -r $SOURCE

# Report the cron job as finished
if [ "$CMD_ERR" = "0" ]; then
  curl --retry 3 https://<cron-ping-url>
else
  curl --retry 3 https://<cron-ping-url>/fail
fi
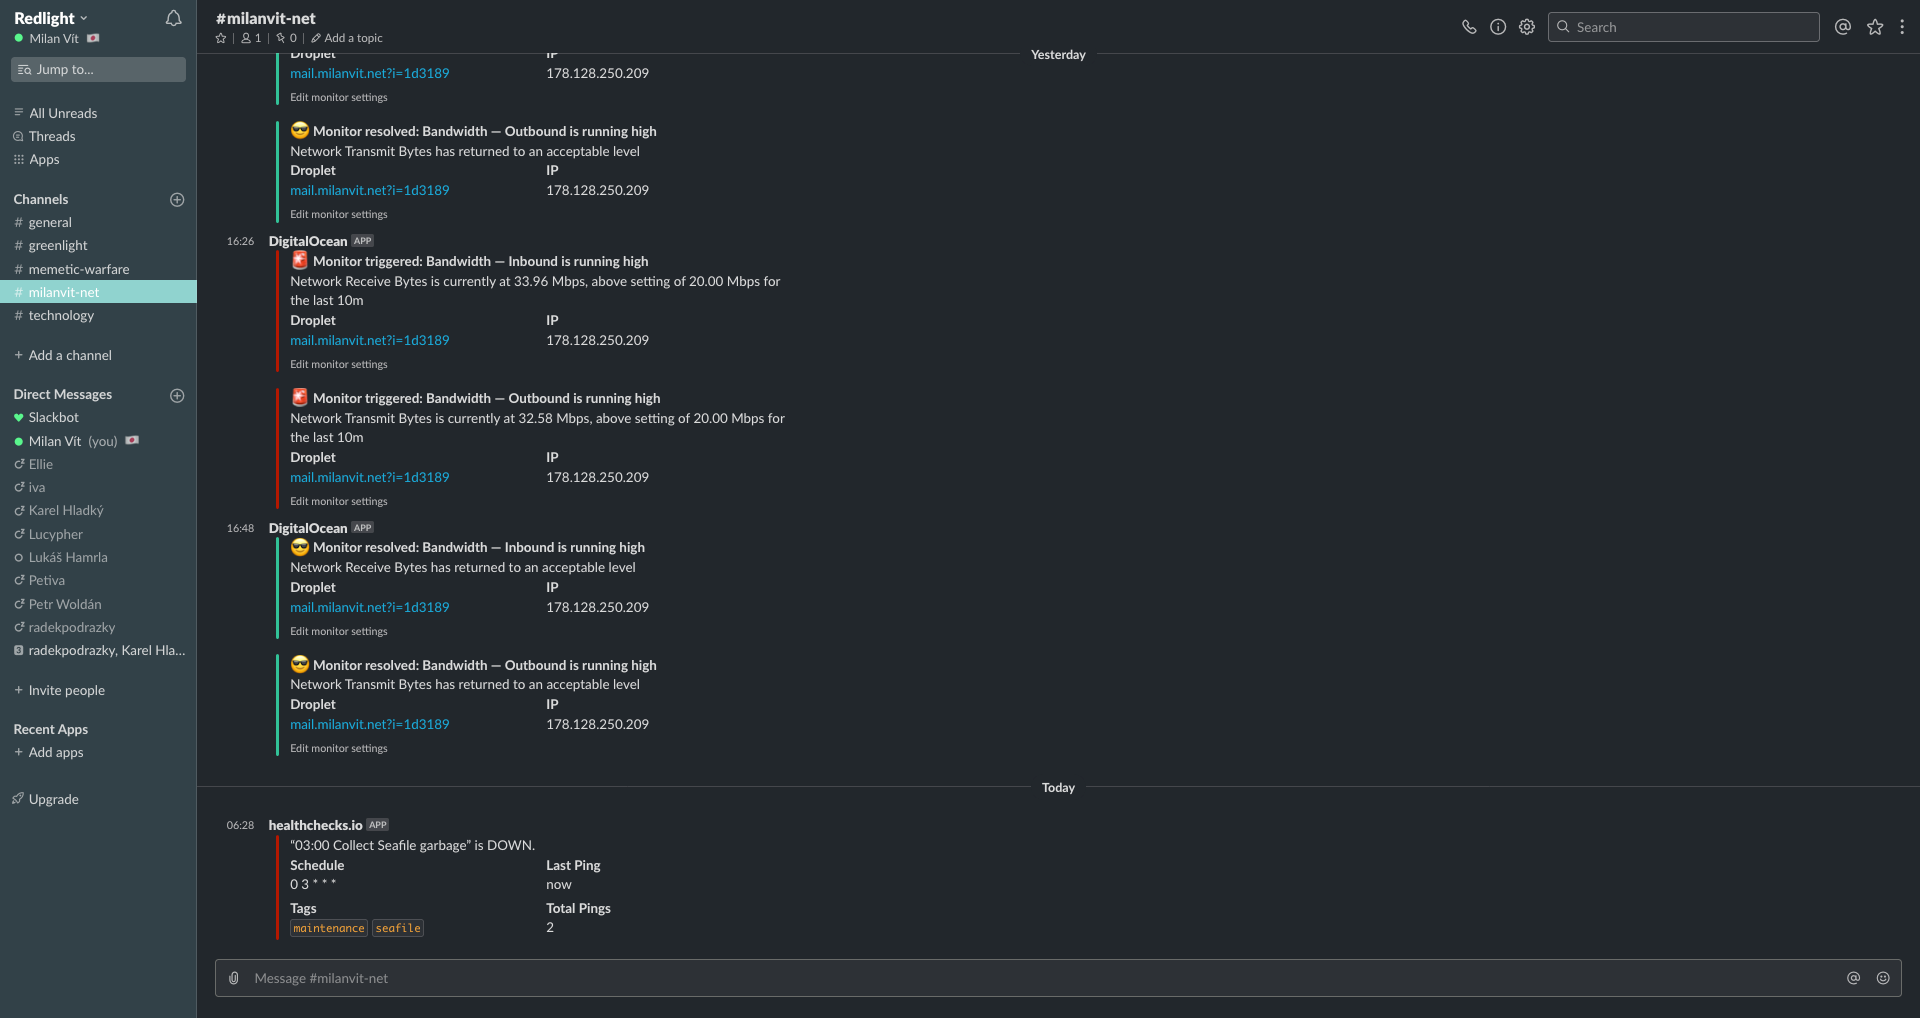
The cron monitoring service I used is healthchecks.io and it is an absolutely lovely service 😍 It allows you to monitor 20 cron jobs for free, and its usage couldn’t be any easier: create a new check on the website, fill in the cron definition (at which time will the cron run), how long do you expect it to run (= time to wait before reporting a failure in case of no ping) and that’s basically it! Copy & paste the check-specific URL into your cron job and you should be getting notified by e-mail, Slack or any other messaging service of choice in case something goes wrong.
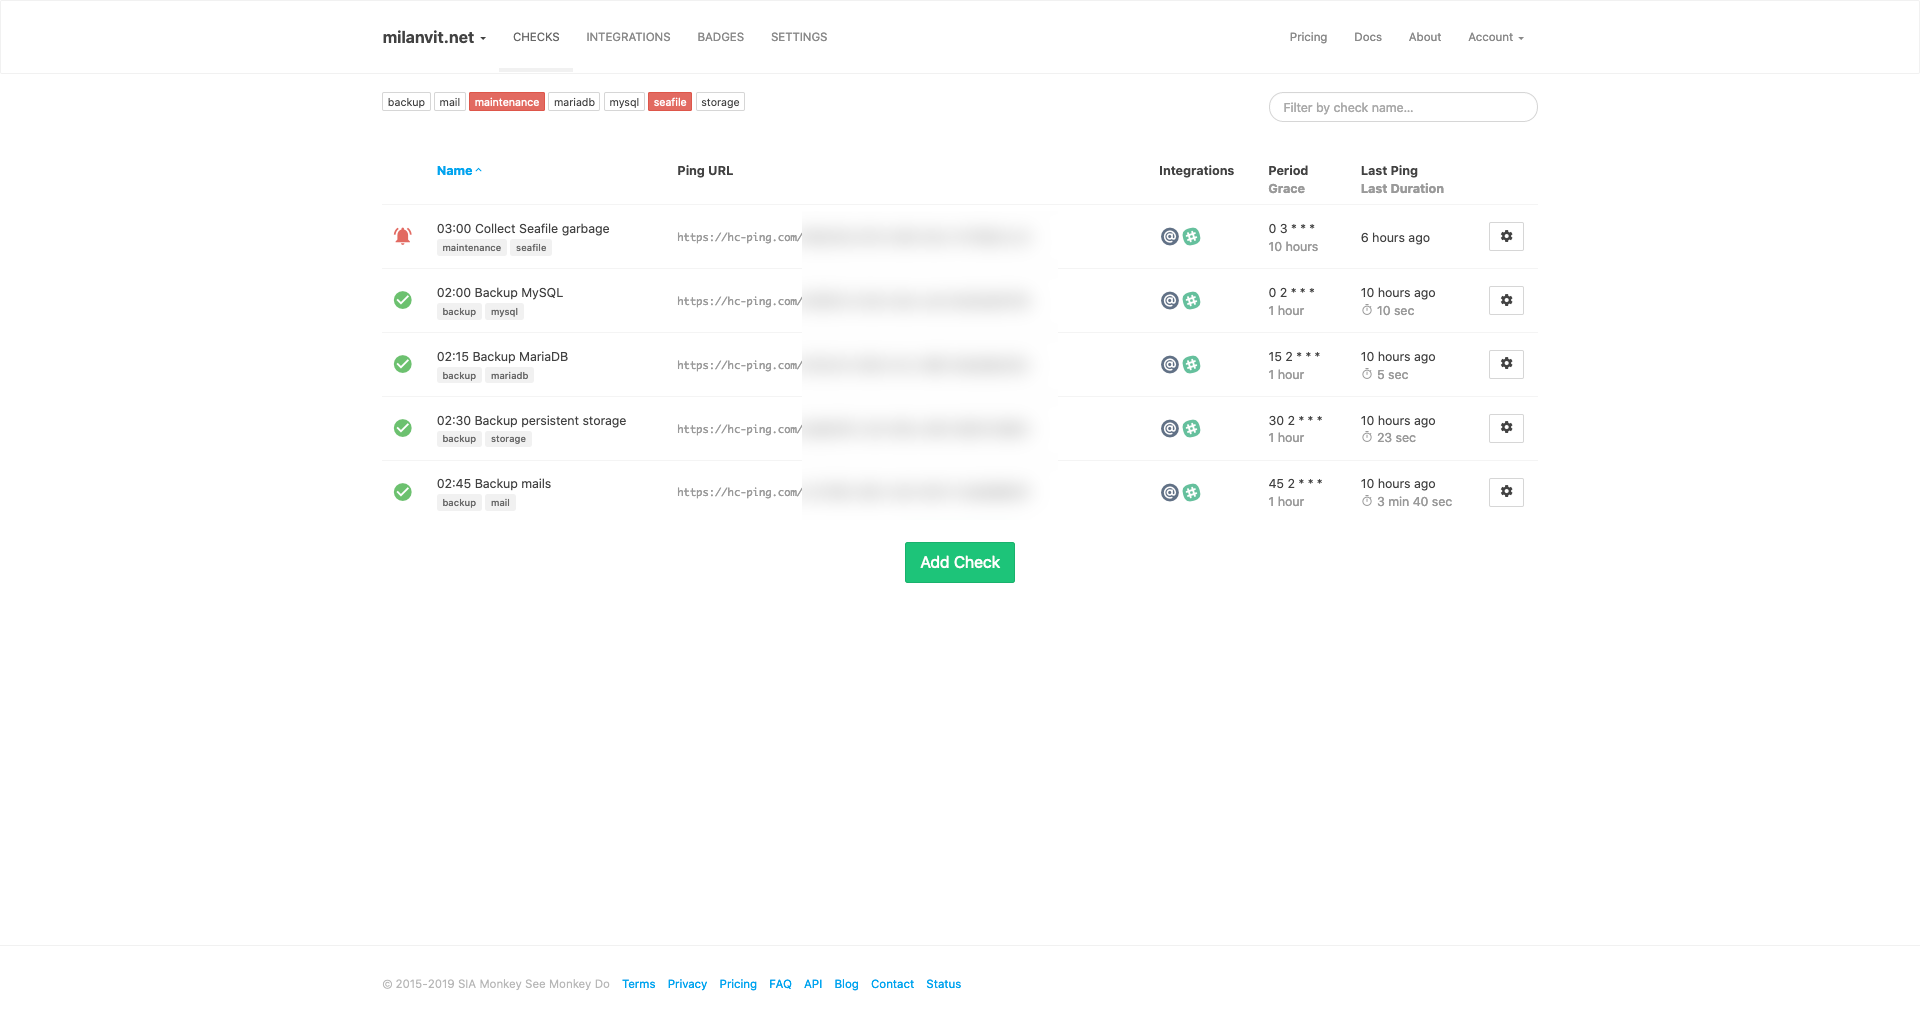
In the end, I set up one cron job to back-up MySQL databases, one to back-up persistent storage and one to back-up the entire Mailcow stack. The pre-hook script for backing up Mailcow relies heavily on Mailcow’s helper script to dump all the data out of Mailcow’s containers.
One thing I should mention is that simply running duply mysql backup won’t automatically delete old back-ups from the remote storage. Duply uses a somewhat strange syntax for its second argument where you essentially specify a list of underscore-separated actions for Duply to execute, such as backup_purge. In my case, the entire crontab line for backing up MySQL databases looks like this: 0 2 * * * /usr/local/bin/duply mysql backup_purge --force. When in doubt, check Duply’s documentation – or since the documentation can also be confusing at times, I found these two tutorials particularly helpful.
At any rate, that’s back-ups taken care of. What else could I self-host? During one short afternoon, I quickly deployed Matomo for seeing how many people visit this site, as a self-hosted alternative for Google Analytics, but I wanted something that would justify paying $5/month for DigitalOcean Spaces.
Let’s self-host… iCloud Drive? ☁️
Because sure, why not! I mean, it shouldn’t be too difficult to do a better job than Apple does with their iCloud Drive, especially considering the whole Catalina fiasco 😡 At this point, a trained monkey could likely do better 🐒, and I’m hoping I’m just a tiny bit above that level.
At first, I began experimenting with NextCloud, and while making it work inside Dokku was relatively trivial, the performance was less than ideal – and I like to believe I tried everything. I tried adding Redis cache, I tried both their Apache-based and PHP-FPM image, I tried tweaking my Nginx’s configuration, I tried searching for answers – but all I found were other people having the same issues: synchronizing a folder with a lot of small files takes forever.
But the third link contains a mention of the Seafile project.
Seafile’s website mentions a focus on high performance, that’s interesting.
Seafile’s pricing page mentions that the Professional edition supports S3 as backing storage and is actually free for up to three users, that’s now very interesting.
Seafile’s download page mentions the existence of both a synchronization client as well as a caching virtual network drive (in other words, key functionality of iCloud Drive), my interest is reaching its peak ⛰️
And Seafile’s documentation mentions the possibility of a Docker-based deployment, well now I just have to try it, won’t I?
The current deployment instructions recommend the usage of docker-compose and while I did use docker-compose for Mailcow, I am really not a fan of it. Let’s see if I can come up with a way to run Seafile inside Dokku, shall we?
Let’s start by taking apart the provided docker-compose.yml file:
version: '2.0'
services:
  db:
    image: mariadb:10.1
    container_name: seafile-mysql
    environment:
      - MYSQL_ROOT_PASSWORD=db_dev  # Requested, set the root's password of MySQL service.
      - MYSQL_LOG_CONSOLE=true
    volumes:
      - /opt/seafile-mysql/db:/var/lib/mysql  # Requested, specifies the path to MySQL data persistent store.
    networks:
      - seafile-net

  memcached:
    image: memcached:1.5.6
    container_name: seafile-memcached
    entrypoint: memcached -m 256
    networks:
      - seafile-net

  elasticsearch:
    image: seafileltd/elasticsearch-with-ik:5.6.16
    container_name: seafile-elasticsearch
    environment:
      - discovery.type=single-node
      - bootstrap.memory_lock=true
      - "ES_JAVA_OPTS=-Xms1g -Xmx1g"
    ulimits:
      memlock:
        soft: -1
        hard: -1
    mem_limit: 2g
    volumes:
      - /opt/seafile-elasticsearch/data:/usr/share/elasticsearch/data  # Requested, specifies the path to Elasticsearch data persistent store.
    networks:
      - seafile-net

  seafile:
    image: docker.seadrive.org/seafileltd/seafile-pro-mc:latest
    container_name: seafile
    ports:
      - "80:80"
#     - "443:443"  # If https is enabled, cancel the comment.
    volumes:
      - /opt/seafile-data:/shared   # Requested, specifies the path to Seafile data persistent store.
    environment:
      - DB_HOST=db
      - DB_ROOT_PASSWD=db_dev  # Requested, the value shuold be root's password of MySQL service.
#      - TIME_ZONE=Asia/Shanghai # Optional, default is UTC. Should be uncomment and set to your local time zone.
      - [email protected] # Specifies Seafile admin user, default is '[email protected]'
      - SEAFILE_ADMIN_PASSWORD=asecret     # Specifies Seafile admin password, default is 'asecret'
      - SEAFILE_SERVER_LETSENCRYPT=false   # Whether to use https or not
      - SEAFILE_SERVER_HOSTNAME=example.seafile.com # Specifies your host name if https is enabled
    depends_on:
      - db
      - memcached
      - elasticsearch
    networks:
      - seafile-net

networks:
  seafile-net:
Okay, so we’ll need MariaDB (MySQL might do fine, but I just wanted to follow the instructions closely here) and Memcached at least. Elasticsearch would’ve been nice, but ain’t nobody got RAM for that, even though I already had to upgrade the specs of my Droplet several times. Also, it looks like Seafile requires root access to the database – that’s not really a Dokku way, but let’s see how to work around it. Here’s what I’ve done if my memory is not betraying me:
- Create new app:
dokku apps:create files - Install MariaDB plugin:
sudo dokku plugin:install https://github.com/dokku/dokku-mariadb.git mariadb - Create a new database:
dokku mariadb:create files-db - Link the containers:
dokku mariadb:link files-db files - Install Memcached plugin:
sudo dokku plugin:install https://github.com/dokku/dokku-memcached.git memcached - Create a new Memcached instance:
dokku memcached:create files-cache - Link the containers again:
dokku memcached:link files-cache files - Mount persistent storage:
dokku storage:mount files /var/lib/dokku/data/storage/files:/shared - Download the latest Seafile Docker image:
docker image pull docker.seadrive.org/seafileltd/seafile-pro-mc:7.0.9(requires repository login from Seafile’s Customer portal) - Re-tag the image so Dokku can find it:
docker image tag docker.seadrive.org/seafileltd/seafile-pro-mc:7.0.9 dokku/files:7.0.9 - Find out randomly generated root password for the MariDB instance:
sudo cat /var/lib/dokku/services/mariadb/files-db/ROOTPASSWORD - Configure required environmental variables:
dokku config:set files DB_HOST=dokku-mariadb-files-db DB_ROOT_PASSWD=<pass-from-previous-step> DOKKU_LETSENCRYPT_EMAIL=<[email protected]> MAX_UPLOAD_SIZE=10G SEAFILE_ADMIN_EMAIL=<[email protected]> SEAFILE_ADMIN_PASSWORD=<initial-password> SEAFILE_SERVER_HOSTNAME=files.milanvit.net SEAFILE_SERVER_LETSENCRYPT=false TIME_ZONE=Asia/Tokyo - Deploy Seafile so that it generates configuration files that you can then adjust:
dokku tags:deploy files 7.0.9 - Generate a SSL certificate:
dokku letsencrypt files - Adjust Memcached host:
sudo nvim /var/lib/dokku/data/storage/files/seafile/conf/seahub_settings.py, then changeLOCATIONinCACHES.defaulttodokku-memcached-files-cache:11211
At this point, Seafile should be deployed and working, provided you have this Dokku plugin installed; however, it’s not using S3 as the storage. To migrate the existing (sample) data and start using S3 for any new files, it’s necessary to go through this migration procedure:
- Create a temporary
seafile.confwith the following contents:
[block_backend]
name = s3
bucket = net-milanvit-files-block
key_id = <key-id>
key = <secret-key>
host = ams3.digitaloceanspaces.com
path_style_request = true
use_https = true
memcached_options = --SERVER=dokku-memcached-files-cache --POOL-MIN=10 --POOL-MAX=100

[commit_object_backend]
name = s3
bucket = net-milanvit-files-commit
key_id = <key-id>
key = <secret-key>
host = ams3.digitaloceanspaces.com
path_style_request = true
use_https = true
memcached_options = --SERVER=dokku-memcached-files-cache --POOL-MIN=10 --POOL-MAX=100

[fs_object_backend]
name = s3
bucket = net-milanvit-files-fs
key_id = <key-id>
key = <secret-key>
host = ams3.digitaloceanspaces.com
path_style_request = true
use_https = true
memcached_options = --SERVER=dokku-memcached-files-cache --POOL-MIN=10 --POOL-MAX=100
(Of course, be sure to replace the bucket names, endpoints and any other properties to whatever your storage provider requires)
- Copy the temporary configuration files inside the running Seafile container:
docker container cp seafile.conf files.web.1:/opt - Enter the running container:
docker container exec -it files.web.1 bash - Execute the migration procedure:
./seafile-server-latest/migrate.sh /opt; if your S3 configuration is correct, it should successfully migrate a few sample files - Leave the container with
Ctrl-D - Add the entirety of the temporary
seafile.confat the end of/var/lib/dokku/data/storage/files/seafile/conf/seafile.conf - Restart Seafile with
dokku ps:restart files
And if I did not forget anything, that should really be it. I’m still in the process of figuring out how to run Seafile’s garbage collector daily, but that is just a minor issue.
My experience with Seafile has been amazing so far. Their iOS client integrates with the native Files app and offers automatic upload of any taken photo/video into Seafile, which is an offer I gladly took to essentially migrate the entire iCloud Photo Library in one sweep. The desktop clients are fast, responsive, and the remote drive functionality seems to be working perfectly fine.
Over the course of past three days, I was able to upload more than 100 GB of data to my new cloud storage, which is way more than I was able to store during my week-long testing of NextCloud.
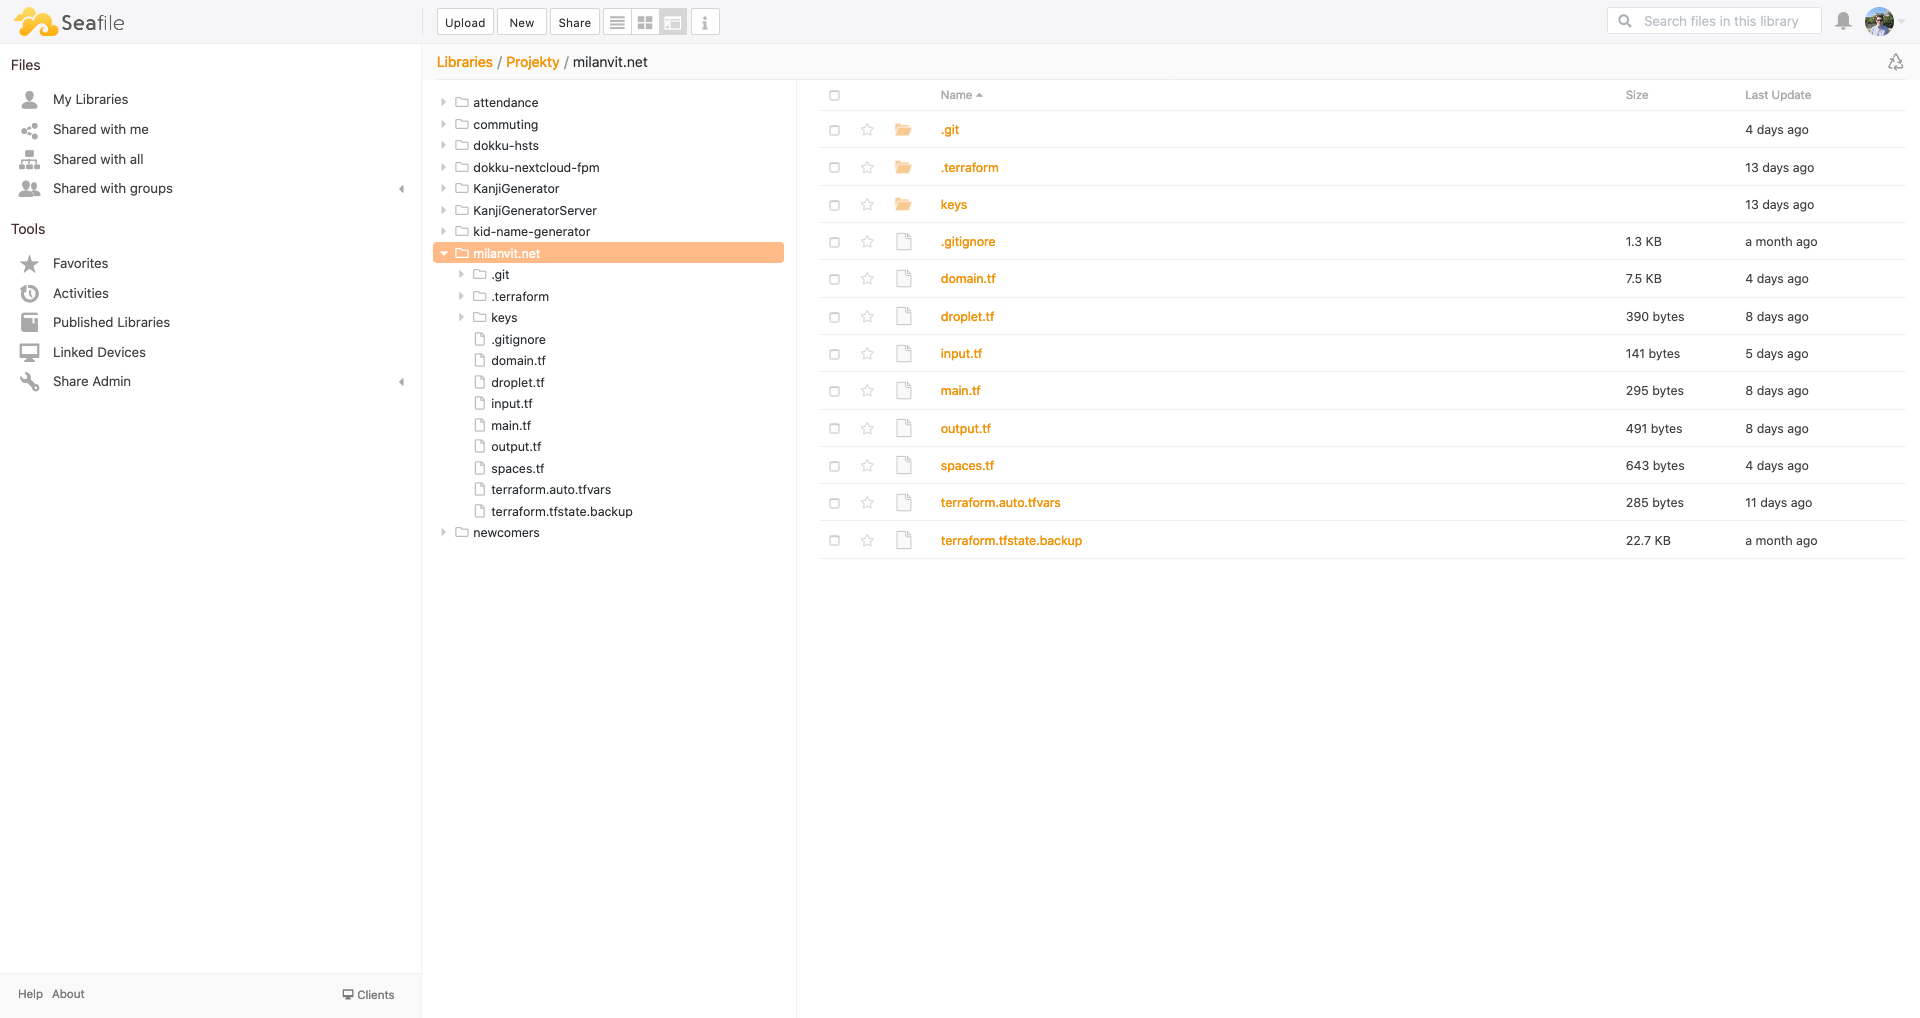
I’ve also done some minor improvements, such as to have DigitalOcean, UptimeRobot and Terraform Cloud report any changes & alerts to my Slack channel, so that I can get notified anytime anything requires my attention. And it’s entirely possible that I’ve done much more than mentioned in the previous two articles, but my memory is just… amazing 🤯🤣
This entire self-hosted experience has been terrific, and I feel like I learned so much. If this short series of articles inspired anyone to follow in my footsteps (and the footsteps of many before me 👣), I wish you luck – and have fun! 👏